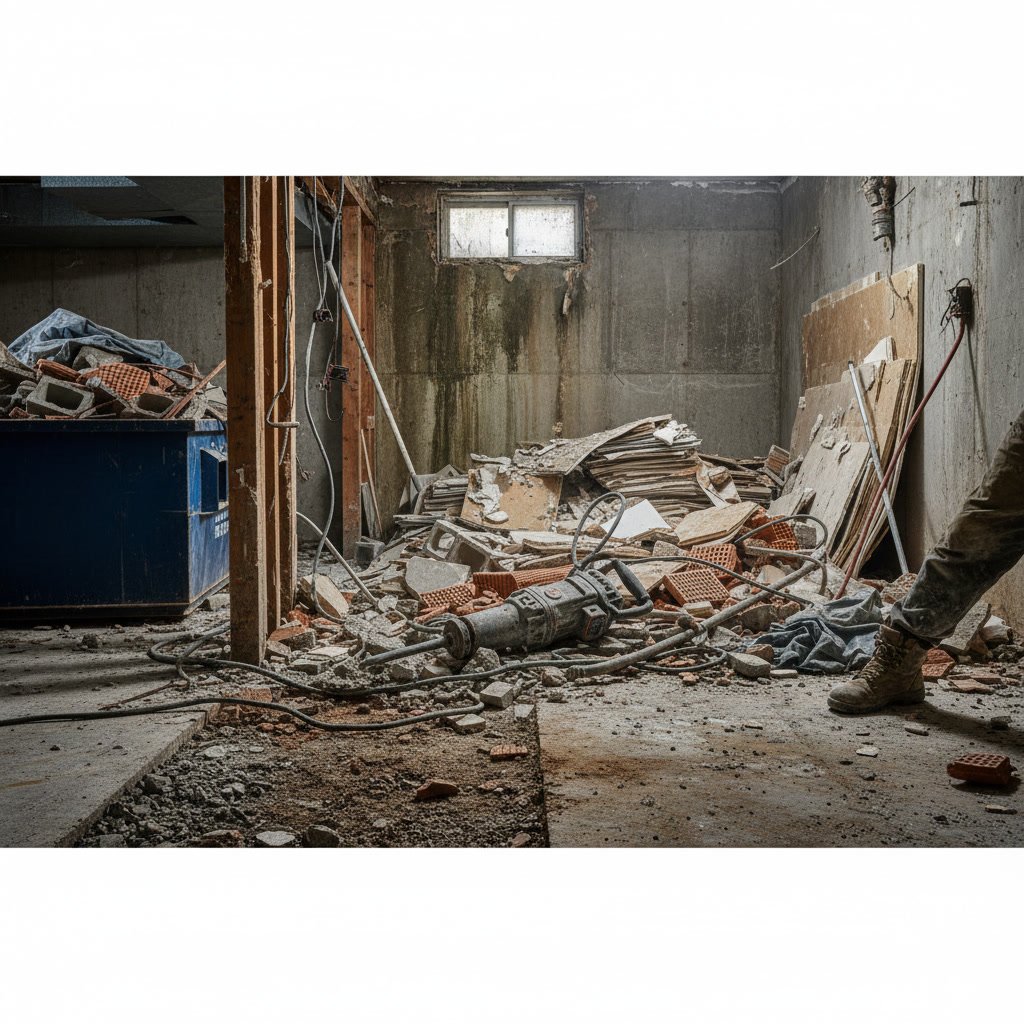
Water pooling along your foundation walls, musty odors creeping upstairs, or visible mold growth means your basement needs professional waterproofing. But before any sump pump or drainage system gets installed, contractors must tackle the often-overlooked first step: basement demo. This critical phase determines whether your waterproofing investment delivers lasting results or becomes a temporary fix over hidden problems.
This guide explains exactly what gets removed during a basement demo, why each element matters for effective waterproofing, and what homeowners in New Hampshire should expect from start to finish.
Why Basement Demo Comes Before Waterproofing Installation
Professional waterproofing systems work by intercepting water at its entry points and channeling it away through drainage paths. Installing these systems over compromised materials or existing damage creates a cascade of problems that undermine the entire investment.
Contractors need direct access to foundation walls, floor perimeters, and the soil beneath your basement floor. Any existing materials blocking these areas must come out first. Skipping or rushing through demo work means installers cannot properly inspect the foundation, address structural concerns, or create the correct slope for drainage channels.
The demo and removal phase also reveals hidden moisture sources, foundation cracks, or structural issues that change the waterproofing approach. Finding these problems during installation saves money compared to discovering them after everything is sealed and finished.
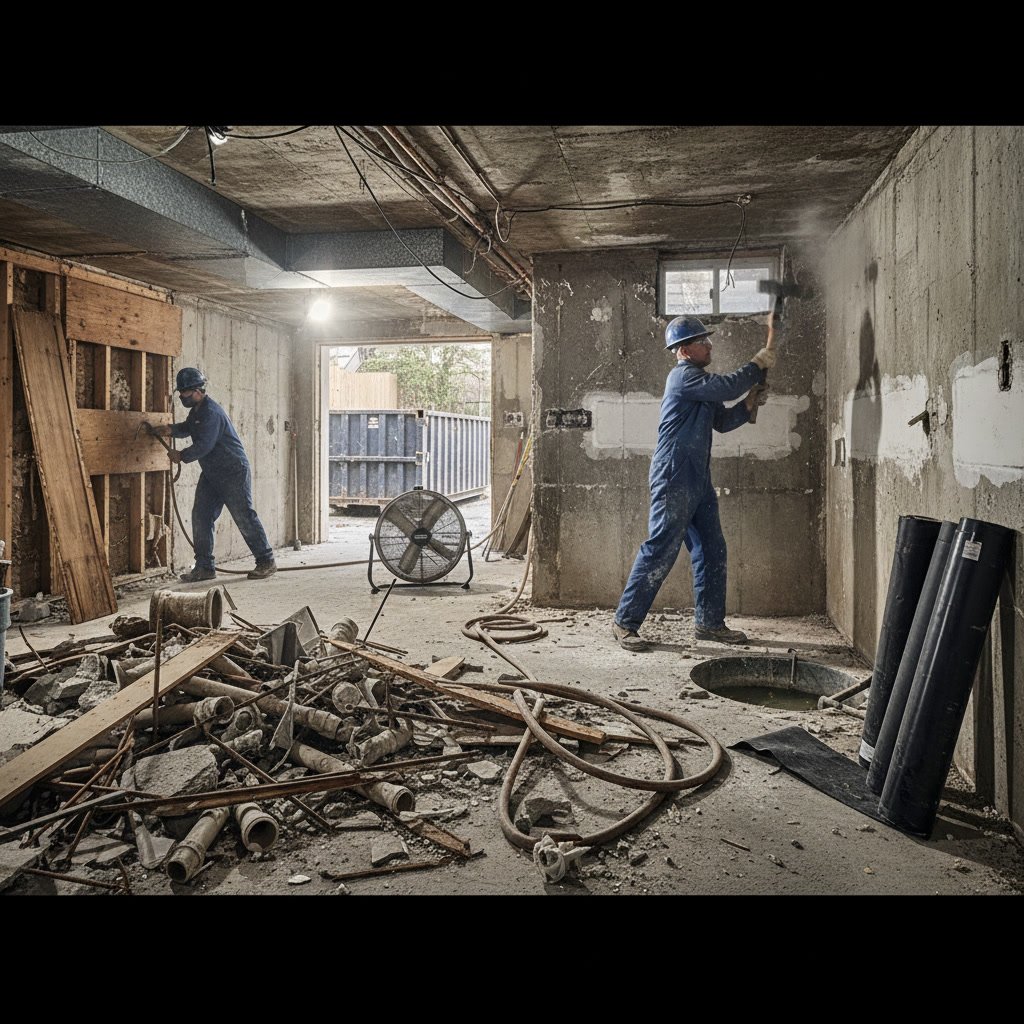
Damaged or Deteriorated Concrete
Old concrete deteriorates from decades of moisture exposure, freeze-thaw cycles, and structural settlement. This damaged material cannot support new waterproofing systems and harbors moisture that continues spreading damage even after new systems go in.
Crumbling Floor Sections
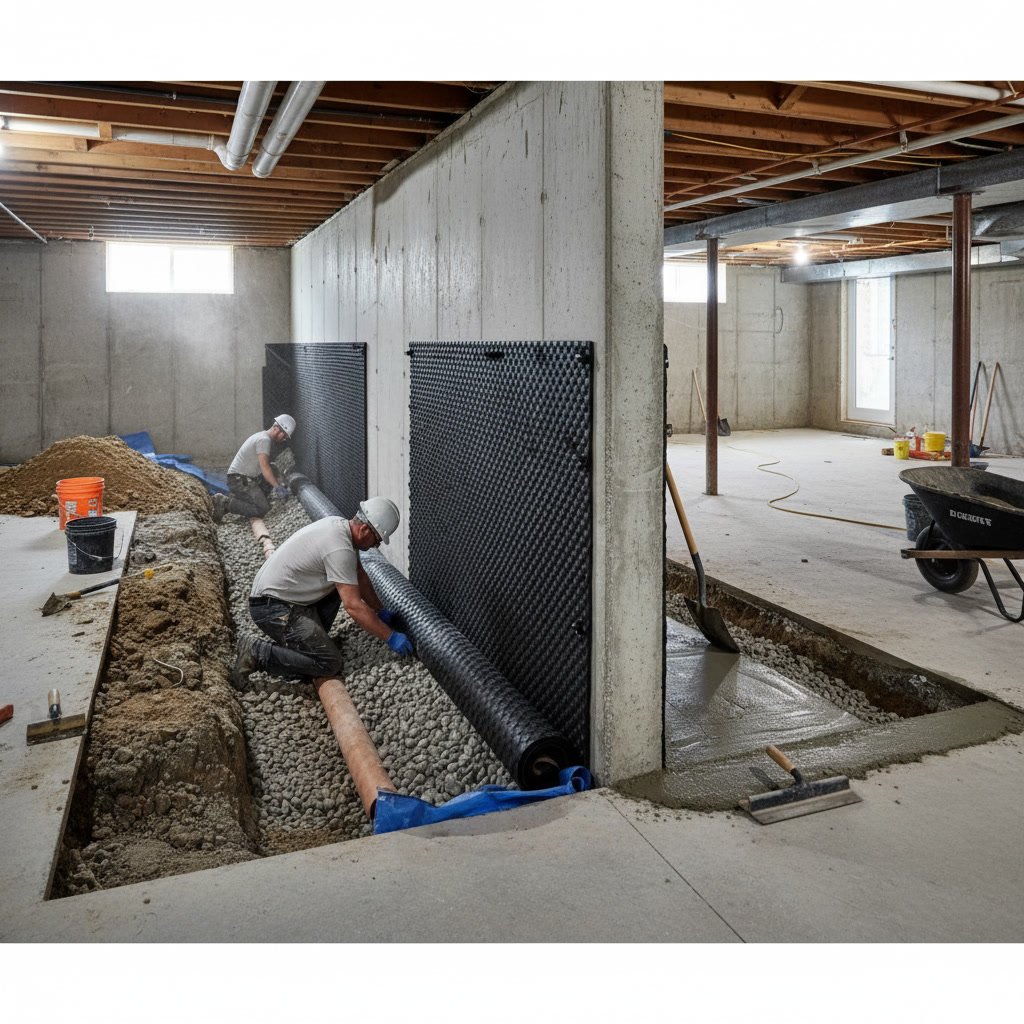
Contractors remove concrete floor sections that show surface spalling, deep cracks, or chunks breaking away. These areas typically run along walls where water infiltration concentrates. The perimeter strip, usually 12 to 18 inches wide, gets jackhammered out to create space for interior drainage systems that sit below the floor surface.
Removing this strip exposes the footer and allows contractors to install perforated pipe at the proper depth. Water naturally flows to this lowest point, where the drainage system captures and diverts it to your sump pump basin.
Compromised Footer Areas
Some older homes have footer sections that crumbled from repeated water exposure. These areas require careful excavation and inspection. If the footer remains structurally sound, contractors clean it and work around it. Severely damaged sections may need reinforcement before waterproofing proceeds.
Existing Flooring and Finished Materials
Any finished flooring, wall coverings, or decorative elements in the work area must go. Carpet, vinyl tile, laminate, and even ceramic tile get pulled up during basement demo to expose the concrete beneath.
Drywall, paneling, and insulation on exterior walls also come down. These materials often hide moisture damage, mold growth, or foundation issues. Removing them allows contractors to treat mold, repair cracks, and apply waterproof coatings directly to foundation walls.
Homeowners sometimes resist removing finished materials, hoping contractors can work around them. This approach always fails. Water finds its way behind finished surfaces, creating mold and rot in spaces you cannot see or treat. Proper waterproofing requires starting from bare concrete and building protection from the foundation inward.
Pro Tip: Document your basement’s condition with photos before demo begins. This creates a clear record of what existed and helps if you need to discuss scope changes or insurance claims related to moisture damage discovered during the process.
Old or Failed Waterproofing Systems
Many basements already have some waterproofing attempt in place. Interior drain tile systems, sump pumps from the 1980s, or exterior drainage that stopped working years ago all get removed during basement demo when they no longer function properly.
Old systems fail for predictable reasons. Drain pipes clog with sediment and iron bacteria. Sump pumps burn out or lack proper discharge lines. Exterior systems collapse under soil pressure or tree root invasion. Rather than trying to retrofit modern components onto failed infrastructure, contractors remove the old system entirely and start fresh.
This complete replacement approach particularly matters for homes in areas like Concord, NH and Manchester, NH, where older housing stock often has multiple generations of waterproofing attempts layered on top of each other.
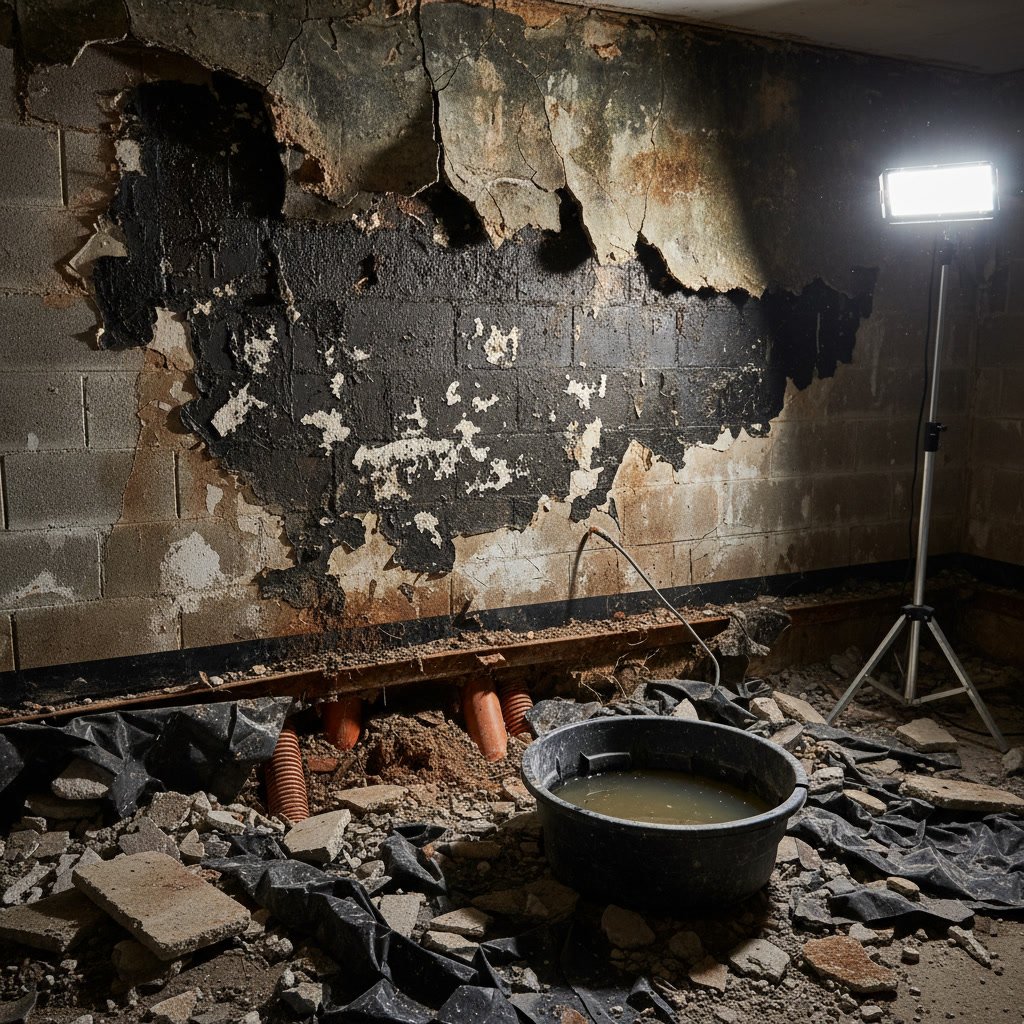
Saturated Soil and Debris
Once contractors expose the perimeter drainage channel, they excavate several inches of soil from the trench. This soil is usually saturated, compacted, and mixed with years of sediment that washed through foundation cracks.
Removing this material creates clean space for drainage stone and perforated pipe. Clean drainage stone around the pipe ensures water flows freely to the collection point rather than backing up or creating hydrostatic pressure against your foundation.
Contractors also remove construction debris often found during excavation, including old mortar chunks, broken tile, wood scraps, and random materials builders tossed into the foundation space decades ago. This debris blocks water flow and creates uneven surfaces that prevent proper system installation.
Mold-Contaminated Materials
Basement demo frequently uncovers mold growth on wood framing, behind finished walls, or on stored items sitting directly on damp floors. Any porous material with active mold growth gets removed and properly disposed of.
Wood framing members with surface mold can sometimes be treated and saved if the wood remains structurally sound. Deep rot or extensive colonization requires full removal and replacement. Contractors evaluate each situation based on the extent of damage and structural role of the affected member.
Proper mold prevention starts with complete removal of contaminated materials during demo. Trying to encapsulate or seal over active mold only postpones the problem. Professional waterproofing companies understand the relationship between moisture control and mold prevention, addressing both during the installation process.
Personal Belongings and Storage Items
Homeowners must remove personal belongings before contractors begin basement demo. Tools, holiday decorations, stored furniture, and household items need to move to a dry, safe location before work starts.
Items that absorbed moisture or show mold growth should be evaluated carefully. Porous materials like cardboard boxes, fabric, and untreated wood rarely recover from significant moisture exposure. Hard plastic containers and metal items can usually be cleaned and saved.
Why Proper Demo Impacts Your Waterproofing Results
The quality of basement demo work directly determines how well your waterproofing system performs for the next 25 years. Thorough removal creates the foundation for long-term moisture control in several ways.
First, complete exposure of foundation walls and footers allows contractors to identify and repair structural issues before they worsen. A crack hidden behind paneling continues growing. One found and sealed during demo stops admitting water immediately.
Second, proper excavation depth ensures drainage systems sit at the correct elevation relative to your footer. Systems installed too high fail to capture water at its lowest point. Those placed at the right depth intercept every drop that reaches your foundation.
Third, removing all compromised materials eliminates ongoing moisture sources that would continue degrading your basement even after waterproofing installation. Old concrete leaching moisture or mold-contaminated wood releasing spores both undermine the clean, dry environment proper waterproofing creates.
Understanding how much basement waterproofing costs in New Hampshire includes recognizing that thorough demo work represents a significant portion of project labor. This investment pays dividends through system longevity and performance.
Key Takeaway: The most expensive waterproofing system installed over inadequate demo work will underperform a mid-range system installed after proper preparation. Never compromise on the foundation work to save money on the visible components.
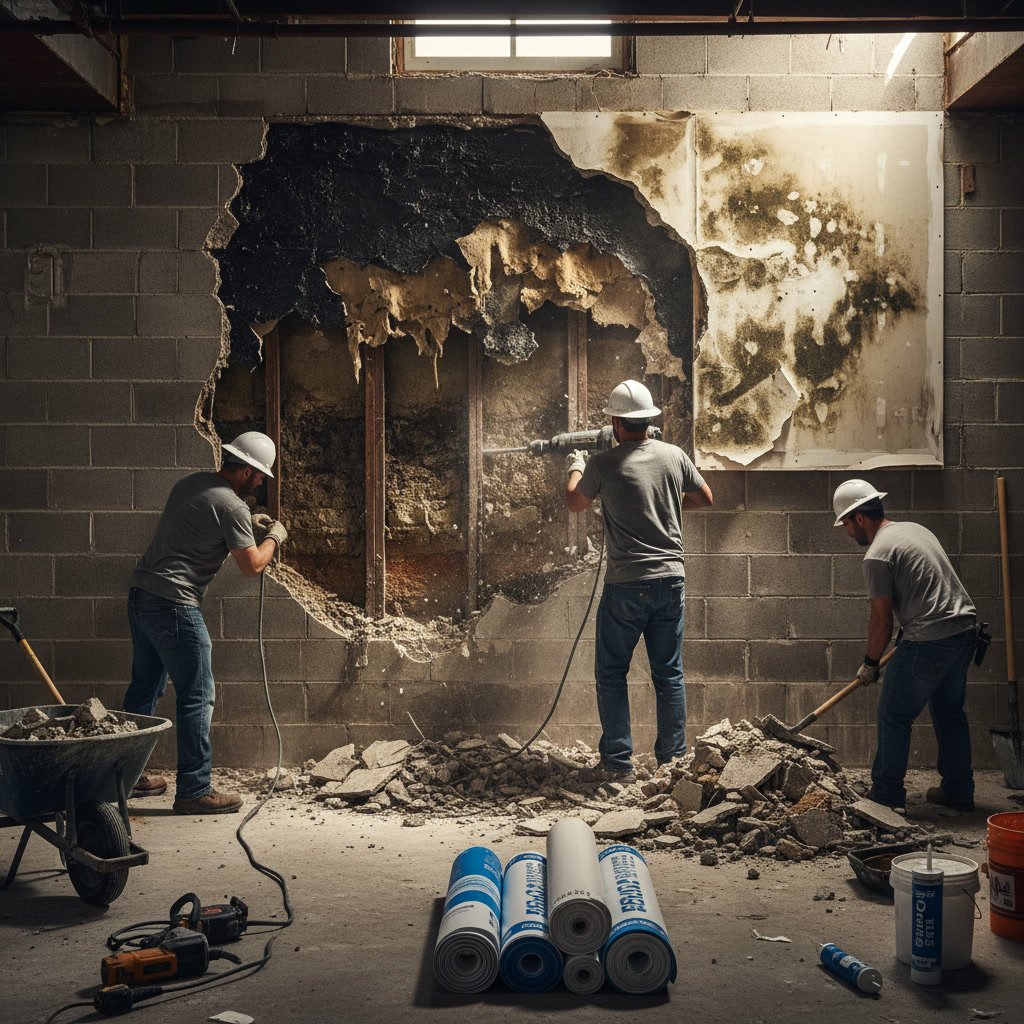
What Happens to Removed Materials
Responsible contractors handle demo debris according to material type and local regulations. Concrete gets hauled to recycling facilities that crush it for use as aggregate base. This keeps tons of material out of landfills and provides a useful secondary product.
Mold-contaminated materials require special handling. These items get bagged to prevent spore dispersal during transport and disposed of according to New Hampshire environmental guidelines. Clean wood and metal often go to standard construction debris facilities.
Soil removed from drainage trenches typically goes to clean fill sites or gets spread on the property if the homeowner has space and appropriate drainage. Saturated soil needs time to dry before it becomes useful as fill material elsewhere.
Professional waterproofing companies include debris removal in their project pricing. Homeowners should never see piles of concrete or contaminated materials sitting around after the crew leaves each day. Daily cleanup maintains safety and shows respect for your property.
Preparing Your Basement for Demo Day
Homeowners play an important role in successful basement demo. Clear the space completely before contractors arrive. This includes removing items from shelves, clearing workbenches, and relocating anything you want to protect from dust and debris.
Identify and mark any utilities you know about. Old gas lines, water supply pipes, electrical conduit, and communication cables sometimes run through spaces where contractors need to work. Advance notice helps crews plan their approach and avoid damaging active services.
Expect significant dust during basement demo. Seal off your basement from upper floors by hanging plastic sheeting at stairways and closing HVAC registers. Dust still spreads despite these precautions, but barriers minimize intrusion into living spaces.
Plan to be away during the loudest demo work, typically jackhammering concrete. This process generates noise levels that make staying home unpleasant. Most concrete removal takes one to two days depending on basement size and the extent of perimeter work required.
The Role of Demo in Complete Waterproofing Systems
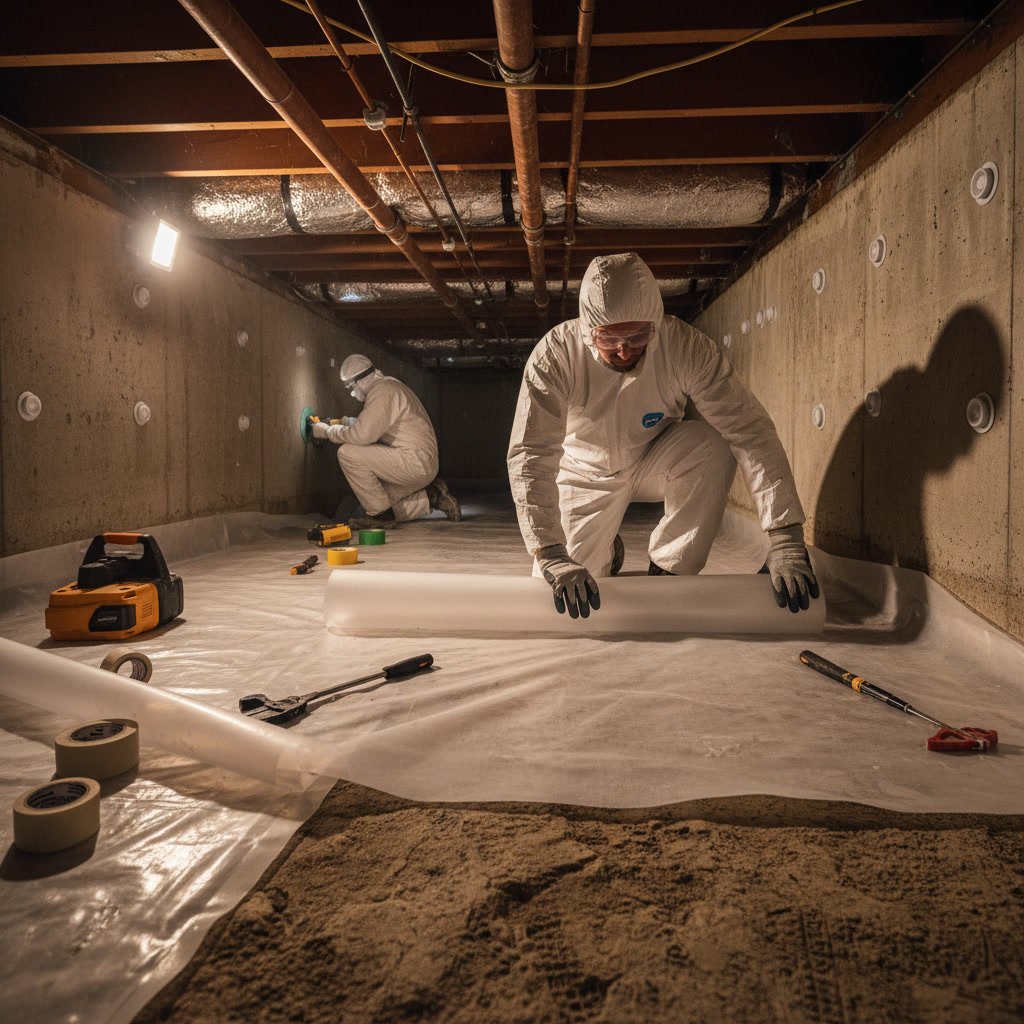
Basement demo connects directly to every other waterproofing component. The sump pump basin must sit at the lowest point of your drainage system, which requires excavating to the proper depth. Vapor barrier installation on foundation walls needs clean, dry surfaces that only appear after removing finished materials and treating the concrete beneath.
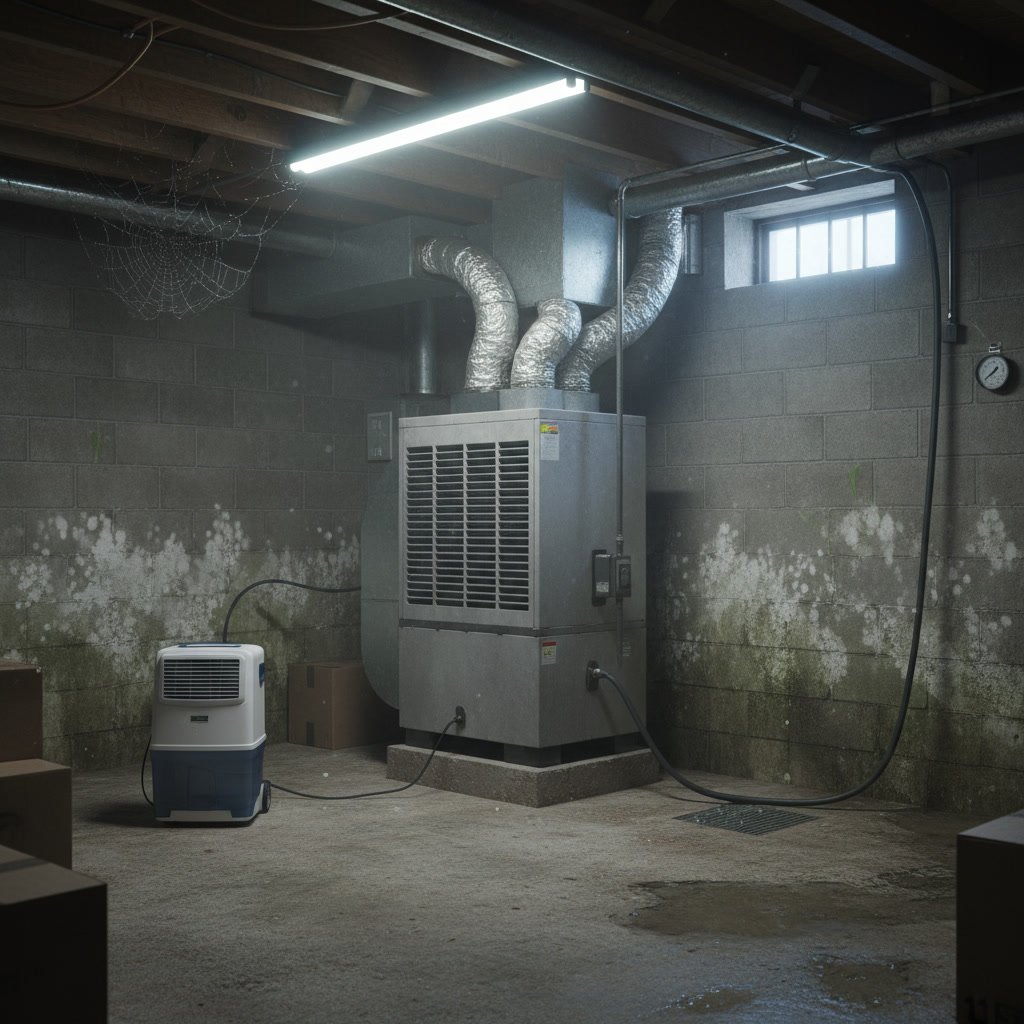
Even systems you might not associate with demo, like basement dehumidification, benefit from thorough preparation work. Dehumidifiers work best in spaces where moisture sources have been eliminated and air can circulate freely. Demo removes materials that trapped humid air pockets and harbored moisture.
After waterproofing installation completes, many homeowners choose to finish their basements with new flooring and walls. Learning about basement concrete slab installation helps you understand what comes after waterproofing if your project includes replacing large sections of flooring.
Frequently Asked Questions
How long does basement demo take before waterproofing installation?
Most basement demo projects take one to three days depending on the size of your basement and the amount of material requiring removal. Simple jobs removing perimeter concrete in an unfinished basement move quickly. Extensive demo involving finished walls, old systems, and mold remediation takes longer.
Can I do basement demo myself to save money on waterproofing?
Homeowners can handle some preparation work like removing personal items and simple shelving. However, concrete removal, mold remediation, and structural evaluation require professional tools and expertise. Most waterproofing contractors prefer doing their own demo to ensure the space meets their installation requirements.
Will basement demo damage my foundation or make problems worse?
Professional contractors use techniques specifically designed to remove material without harming your foundation structure. Controlled jackhammering, proper excavation depth, and careful handling of footer areas all protect your home while creating the access needed for waterproofing installation.
What happens if contractors find unexpected problems during basement demo?
Demo work sometimes reveals foundation cracks, structural issues, or more extensive water damage than initially visible. Reputable contractors stop work, document the findings, and discuss options with you before proceeding. These discoveries often explain why previous waterproofing attempts failed and allow for complete solutions.
Do I need to replace everything that gets removed during basement demo?
Not necessarily. Many homeowners choose to leave basements unfinished after waterproofing installation, especially in utility areas. Others finish only portions of the space. Your contractor installs waterproofing systems that work equally well in finished or unfinished basements, giving you flexibility for future improvements.
Working With a Trusted Local Contractor
Basement demo sets the stage for everything that follows in your waterproofing project. The difference between adequate prep work and thorough, professional demo shows up in system performance years down the road.
NH Dry Basement LLC brings small-town values and family-owned accountability to basement waterproofing projects throughout the New Hampshire seacoast and beyond. Our team understands that demo work might feel destructive, but it creates the foundation for lasting moisture control that protects your home and family.
If your basement shows signs of water infiltration, high humidity, or moisture damage, proper waterproofing starts with honest assessment and thorough preparation. We serve homeowners in Portsmouth, Rochester, Dover, and surrounding communities with the same attention we would give our own homes.
Contact NH Dry Basement LLC at +16032359598 to schedule a basement evaluation. We will explain exactly what your project requires, what gets removed during basement demo, and how we protect your home throughout the process.