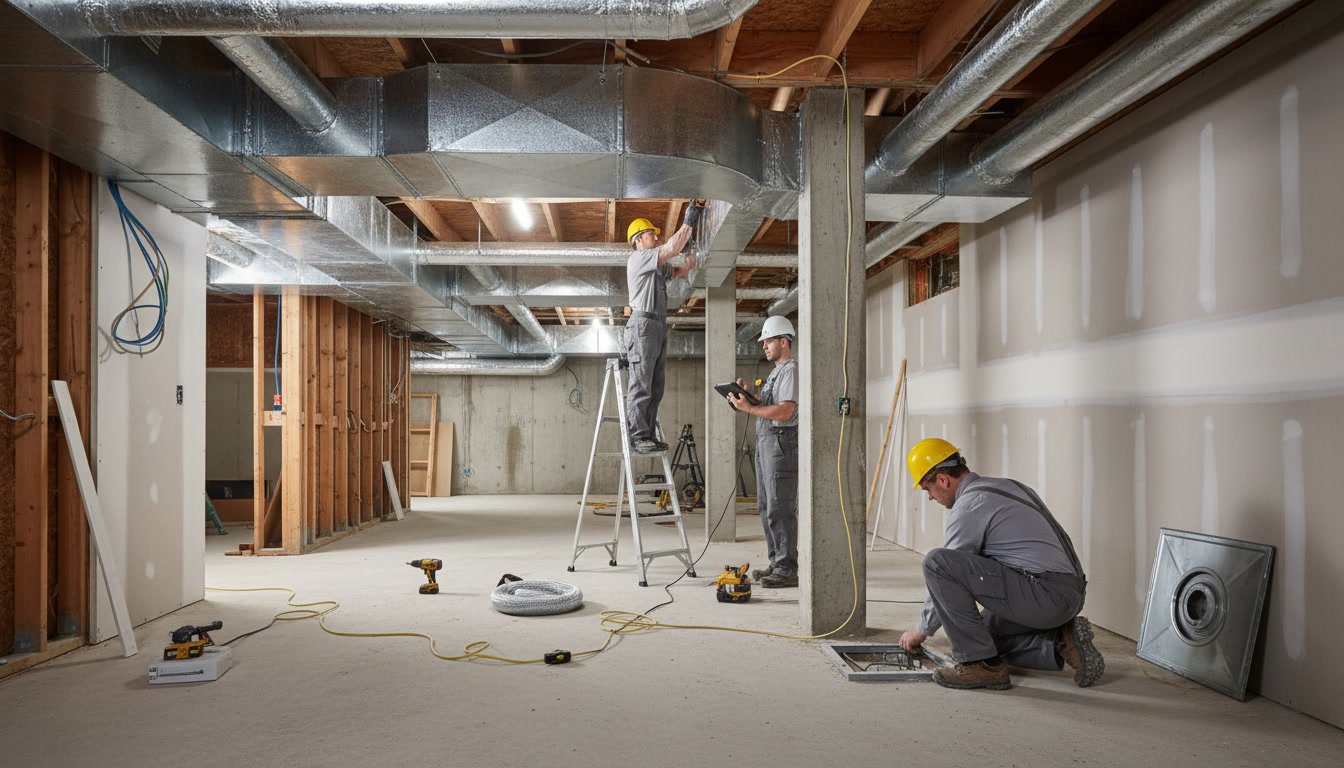
A complete basement ventilation installation follows a systematic process that begins with an assessment of your space and ends with precise airflow balancing to ensure optimal performance. Professional installers evaluate moisture levels, measure room dimensions, design a custom duct layout, mount mechanical equipment, seal all connections, and test the system to deliver consistent air exchange throughout the space. The typical installation takes one to two days depending on basement size and complexity.
Why Basements Need Dedicated Ventilation Systems
Basements naturally accumulate moisture because they sit below grade, surrounded by soil that holds water. Without proper air movement, this moisture creates perfect conditions for mold growth, musty odors, and structural damage. Opening a window or running a portable fan rarely solves the problem because basements need controlled, consistent air exchange that balances humidity while preventing drafts that can make moisture problems worse.
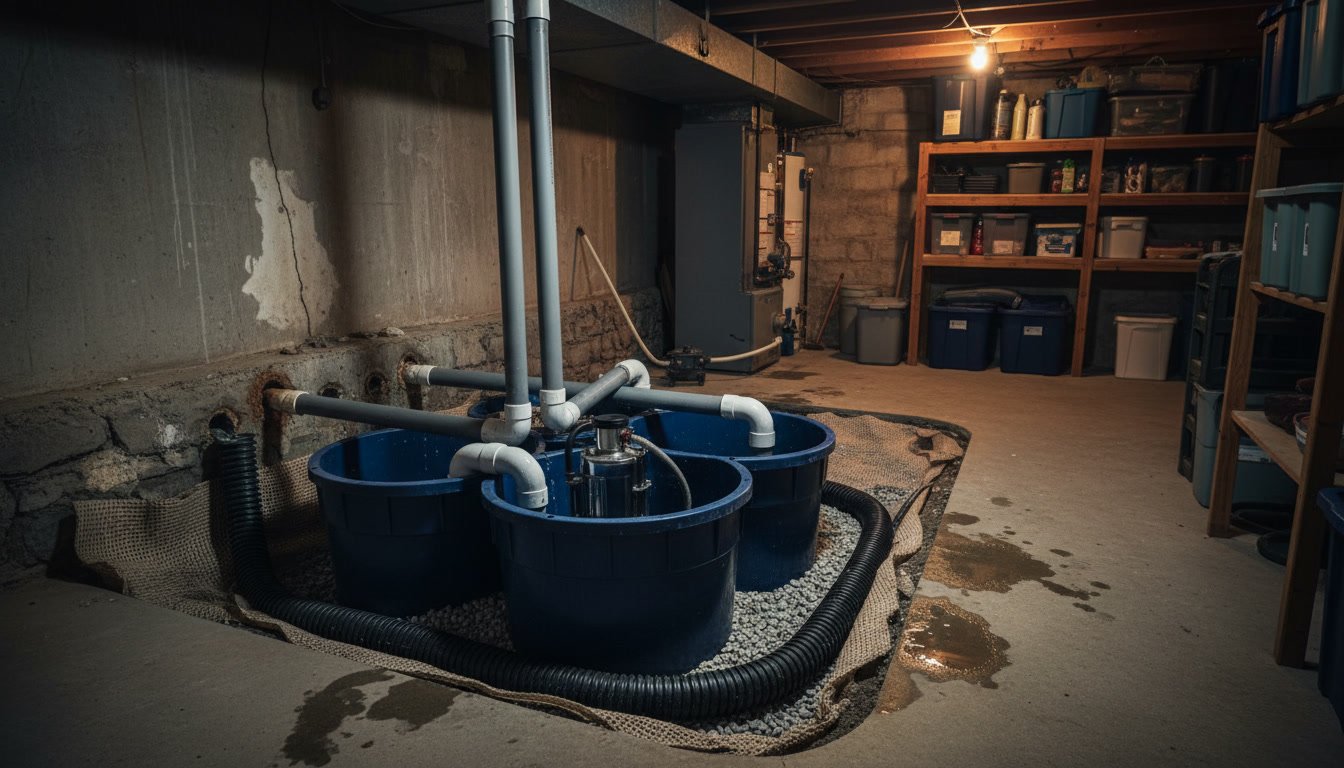
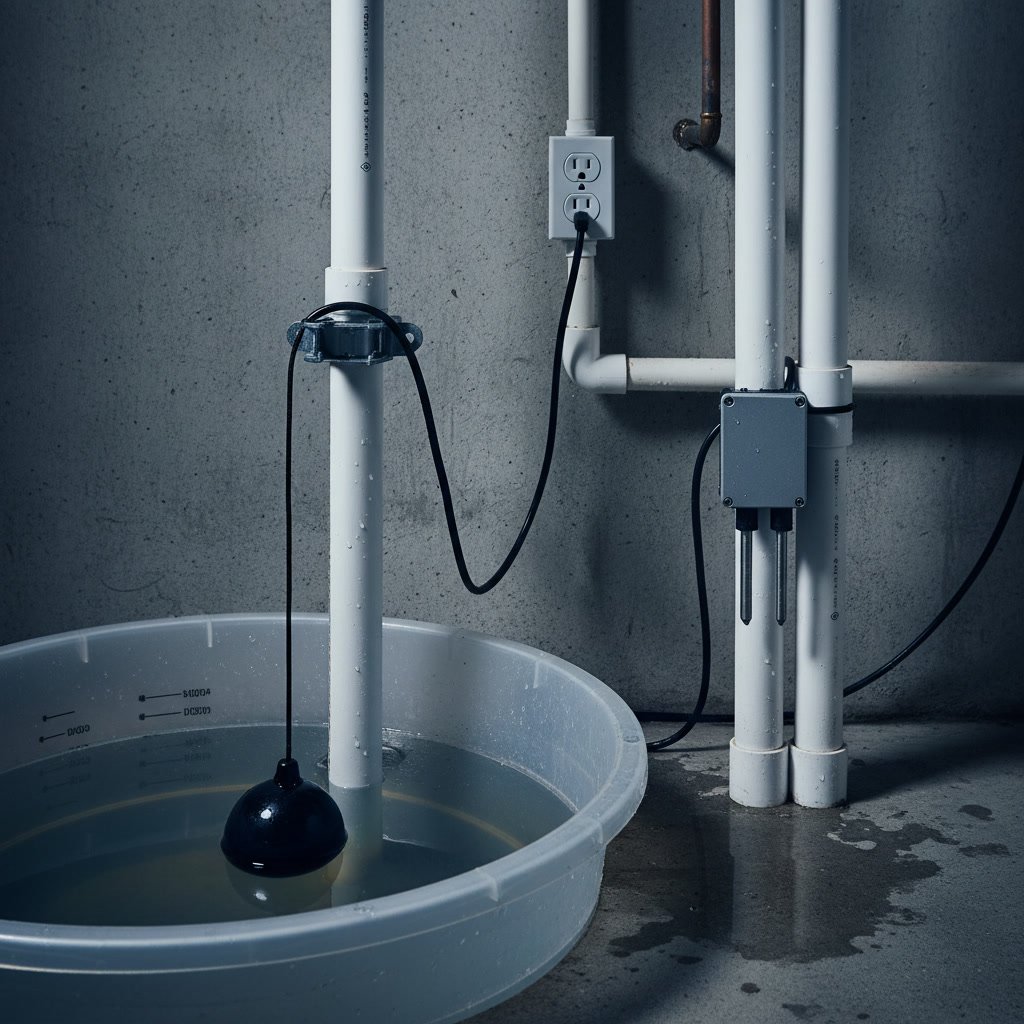
A proper ventilation system works alongside other moisture control measures to create a healthy environment. Many homeowners discover that ventilation alone cannot fix severe moisture issues, which is why it often pairs with basement waterproofing and dehumidification equipment. The three systems work together, each addressing different aspects of moisture management.
The Pre-Installation Assessment and Design Phase
Before any equipment arrives, installers conduct a thorough assessment of your basement. They measure humidity levels with hygrometers, check for existing moisture sources, identify structural obstacles like support beams and utility lines, and note the location of electrical panels. This assessment determines the size and type of ventilation system your space needs.
The design phase creates a custom duct layout based on your basement’s specific characteristics. Installers calculate the required cubic feet per minute (CFM) of airflow by measuring room volume and considering moisture load. A 1,000 square foot basement typically needs between 80 and 120 CFM, but homes near water or with known moisture issues may require higher capacity. The layout identifies intake and exhaust points to create cross-ventilation without dead zones where stale air can accumulate.
Preparing the Space and Running Initial Ductwork
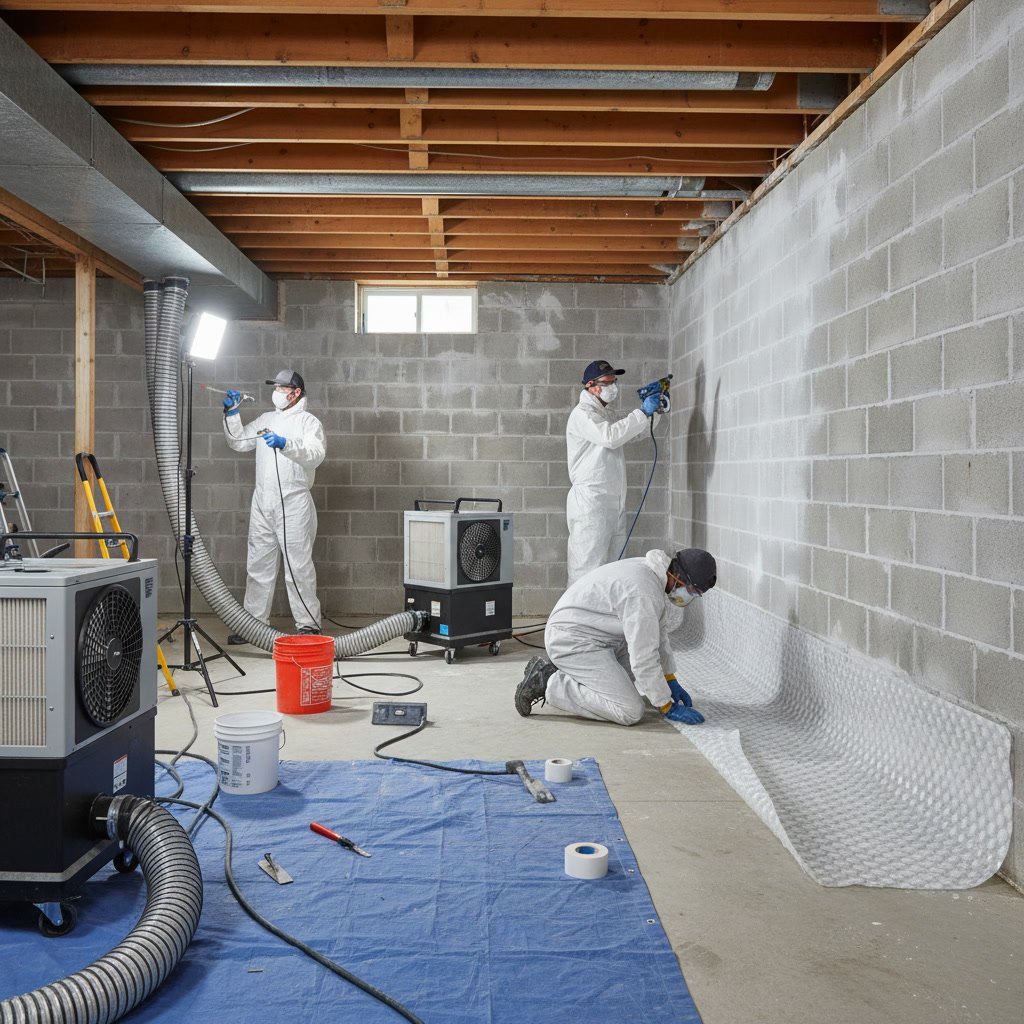
Installation day begins with space preparation. Crews move stored items away from walls where ducts will run, protect finished surfaces with drop cloths, and set up work lights if the basement lacks adequate lighting. They verify measurements one final time and mark duct routes on ceiling joists with chalk lines.
Running ductwork requires precision cutting and fitting. Installers use rigid or semi-rigid ducting rather than flexible corrugated material because smooth surfaces maintain better airflow and resist moisture accumulation. They secure ducts to ceiling joists with metal straps every four feet, ensuring no sagging that could trap condensation. All duct joints receive metal tape and mastic sealant, never cloth duct tape, which degrades in humid environments.
Mounting the Primary Ventilation Equipment
The main ventilation unit mounts in a central location with clear access to intake and exhaust ducts. Most systems use either energy recovery ventilators (ERV) or heat recovery ventilators (HRV), depending on climate and humidity patterns. The unit bolts to ceiling joists or wall studs using vibration-dampening hardware that prevents operational noise from traveling through the structure.
Electrical connections require dedicated circuits in most cases. The ventilation unit typically draws between 80 and 150 watts during operation, and code requires it to have its own breaker rather than sharing with lighting or outlets. Installers run conduit from the electrical panel to the unit location, maintaining proper clearances from other utilities. Many homeowners choose to add controls that integrate with existing HVAC thermostats for unified climate management.
Installing Intake and Exhaust Vents in More Dover Homes
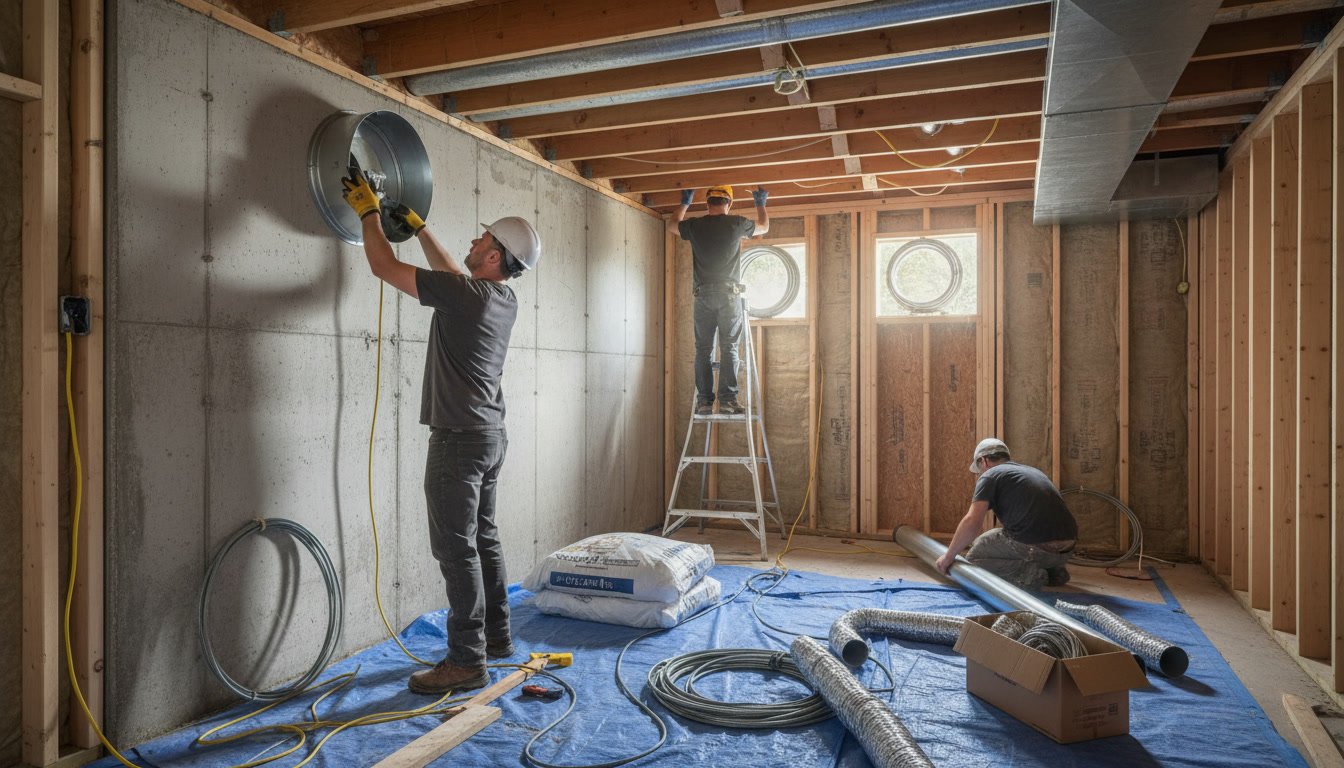
Intake vents bring fresh outdoor air into the system, while exhaust vents expel stale basement air. The placement of these vents significantly impacts system performance. Intake vents typically mount low on exterior walls or through the rim joist, drawing air from outside. Exhaust vents mount on the opposite side of the basement to create cross-flow ventilation.
Each vent requires careful sealing to prevent water intrusion. Installers cut precise openings through foundation walls or rim joists, insert protective vent caps with built-in screens, and seal all gaps with exterior-grade caulk. Interior vent covers include dampers that prevent backdrafts during system shutdown. The entire vent assembly must slope slightly outward to shed any condensation that forms during temperature differentials.
Integrating Ventilation with Existing Moisture Control Systems
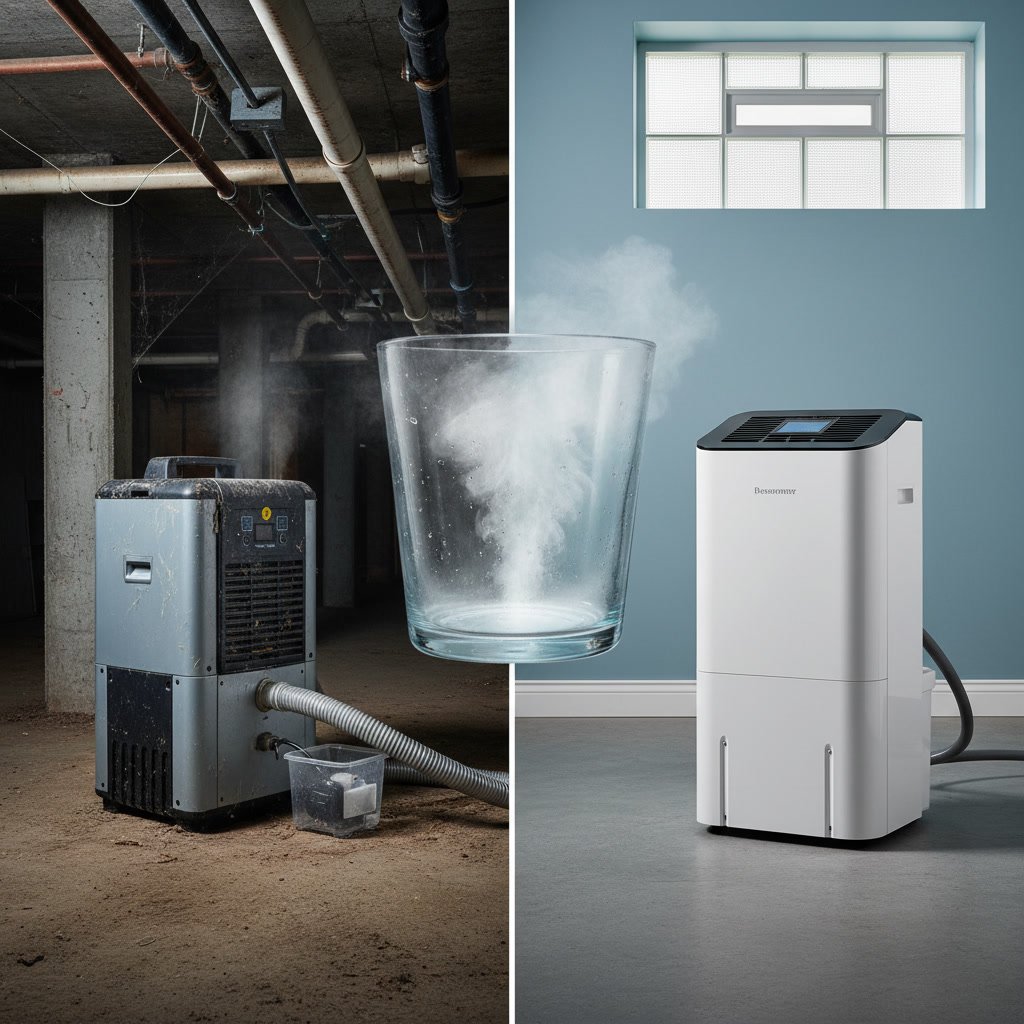
Ventilation systems work best when coordinated with other moisture management equipment. If your basement already has a basement dehumidification system installed, the ventilation controller needs programming to prevent the two systems from fighting each other. Dehumidifiers remove moisture from existing air, while ventilators exchange that air with outdoor air.
Some advanced installations include humidity sensors that automatically adjust ventilation rates based on real-time conditions. When outdoor humidity exceeds indoor levels, the system reduces intake to prevent introducing more moisture. This smart coordination prevents the problems described in common crawl space ventilation mistakes that worsen rather than improve moisture conditions.
Sealing Connections and Testing for Air Leaks
Every joint, seam, and connection point in the duct system requires proper sealing. Air leaks waste energy and reduce system effectiveness by allowing conditioned air to escape before reaching its intended destination. Professional installers test each connection using smoke pencils or incense sticks that reveal even small leaks through visible smoke movement.
The sealing process uses mastic compound, which remains flexible as temperatures change, combined with metal foil tape on all joints. Installers pay special attention to transitions between round and rectangular duct sections, where gaps commonly form. Return air pathways also receive inspection to ensure the system can draw air efficiently from exhaust points without creating negative pressure that could pull radon or soil gases into living spaces.
Calibrating Airflow Rates and Balancing the System
After installation, the system requires precise balancing to deliver the designed airflow to each area. Installers use anemometers to measure actual air velocity at each register and compare it to the design specifications. Most residential systems aim for gentle, continuous air movement rather than the forceful blasts typical of HVAC systems.
Balancing involves adjusting dampers within the ductwork to increase or decrease airflow to specific zones. A properly balanced system maintains slight positive pressure in the basement, which prevents outdoor air from infiltrating through foundation cracks. The installer adjusts the system while measuring pressure differentials between the basement and outdoors using digital manometers. Fine-tuning can take several hours as adjustments in one zone affect airflow in others.
Installing Controls and Programming Operation Schedules
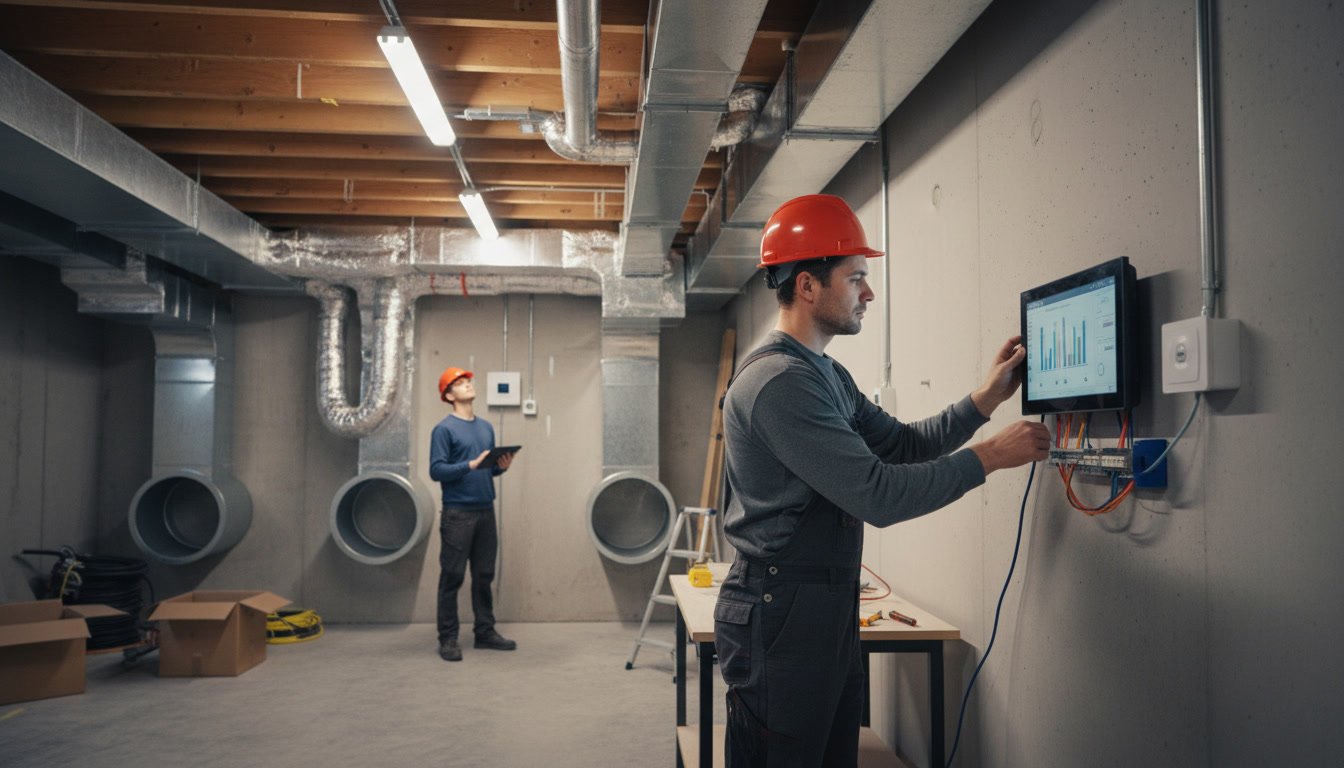
Modern ventilation systems include programmable controls that optimize operation for energy efficiency and moisture control. The controller mounts in an accessible location, often near the basement stairs, and displays current humidity levels, system status, and filter condition. Programming sets run times, humidity thresholds, and override options.
Most systems operate on schedules that increase ventilation during high-humidity seasons and reduce it during winter when excessive ventilation can dry indoor air uncomfortably. Some homeowners choose continuous low-speed operation, while others prefer intermittent high-speed cycles. The optimal schedule depends on basement use, occupancy, and existing moisture sources. Systems installed by NH Dry Basement LLC in the Barrington area typically include initial programming based on local climate patterns.
Final Testing and Performance Verification
Before leaving the job site, installers conduct comprehensive system testing. They verify proper startup and shutdown sequences, test all safety switches, confirm electrical connections meet code, and document baseline performance metrics. Sound level testing ensures the system operates quietly, typically below 40 decibels at normal speed.
Performance verification includes running the system for at least two hours while monitoring humidity levels, temperature differentials, and airflow consistency. Installers check for vibrations, unusual noises, or any signs that components might fail prematurely. They also verify that exhaust vents expel air properly and intake vents draw fresh air without restriction. This final testing catches installation errors before they become problems that require service calls.
Ensuring Long-Term Performance Through Proper Setup
A well-installed ventilation system should require minimal maintenance beyond regular filter changes every three to six months. Installers provide documentation showing duct routes, electrical connections, and equipment specifications for future reference. They explain maintenance requirements, demonstrate control operation, and identify warning signs that indicate service needs.
The relationship between ventilation and other basement systems matters long-term. If you later add vapor barrier installation or upgrade drainage systems, the ventilation system may need rebalancing to accommodate changed moisture loads. Professional installers design systems with adjustment capacity built in, allowing modifications without complete reinstallation.
Understanding the complete process from assessment through final balancing helps you recognize quality installation work and maintain your system properly. Each step builds on the previous one, creating a integrated moisture management solution that protects your basement for decades.
NH Dry Basement LLC brings family-owned expertise to every ventilation project throughout the seacoast region. Our installation process ensures your system performs exactly as designed, creating a healthier basement environment. Call +16032359598 to schedule an assessment and learn how professional ventilation installation can solve your basement moisture challenges.