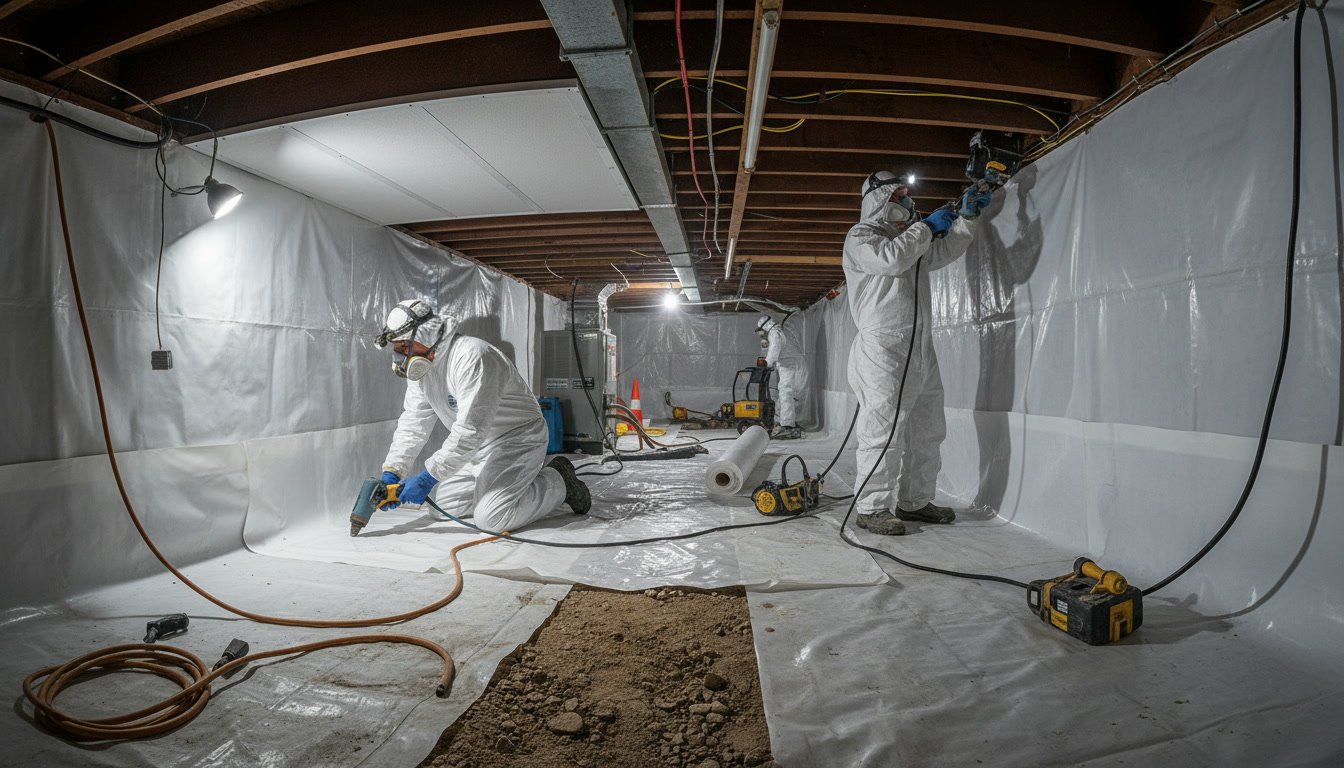
The crawl space encapsulation process transforms an open, vented crawl space into a sealed, climate-controlled environment that protects your home from moisture damage, mold growth, and structural deterioration. Professional encapsulation involves multiple coordinated steps: removing debris and contaminated materials, installing drainage systems, sealing all surfaces with heavy-duty vapor barriers, and adding mechanical dehumidification to maintain optimal humidity levels year-round.
Why Traditional Vented Crawl Spaces Create More Problems Than They Solve
For decades, building codes required crawl space vents based on the theory that outside air would dry out moisture underneath homes. Real-world performance has proven this approach fundamentally flawed. During humid New Hampshire summers, warm outside air enters the cool crawl space and immediately reaches its dew point, depositing moisture on every surface. Winter air enters dry but creates a different problem: it robs heat from your floors and forces your heating system to work harder.
The old approach of crawl space ventilation often makes moisture problems worse rather than better. Modern building science now recognizes that sealing and controlling the environment produces dramatically better results for moisture control, energy efficiency, and indoor air quality.
What Professional Contractors Inspect Before Starting Encapsulation
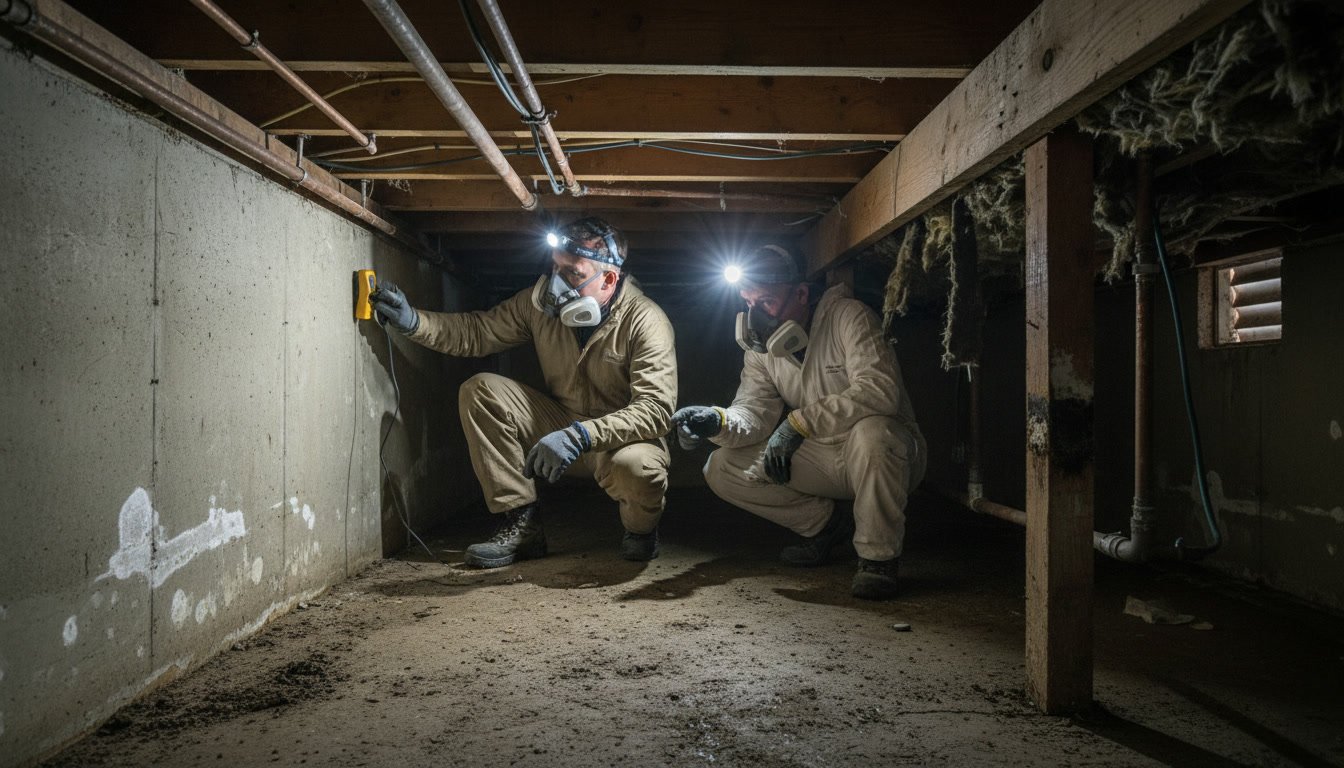
Before any encapsulation work begins, experienced contractors conduct a thorough assessment of existing conditions. This inspection identifies active water intrusion points, checks for wood rot or structural damage, measures humidity levels, and evaluates the crawl space floor condition. Contractors look for standing water, efflorescence on foundation walls, damaged insulation, and evidence of pest activity.
The inspection also determines whether ground water issues require a drainage system installation before encapsulation can proceed. Encapsulating over active water problems simply traps moisture inside rather than solving the underlying issue. A proper assessment maps out the complete scope of work needed for long-term success.
Demo and Removal: Clearing Out Contaminated Materials
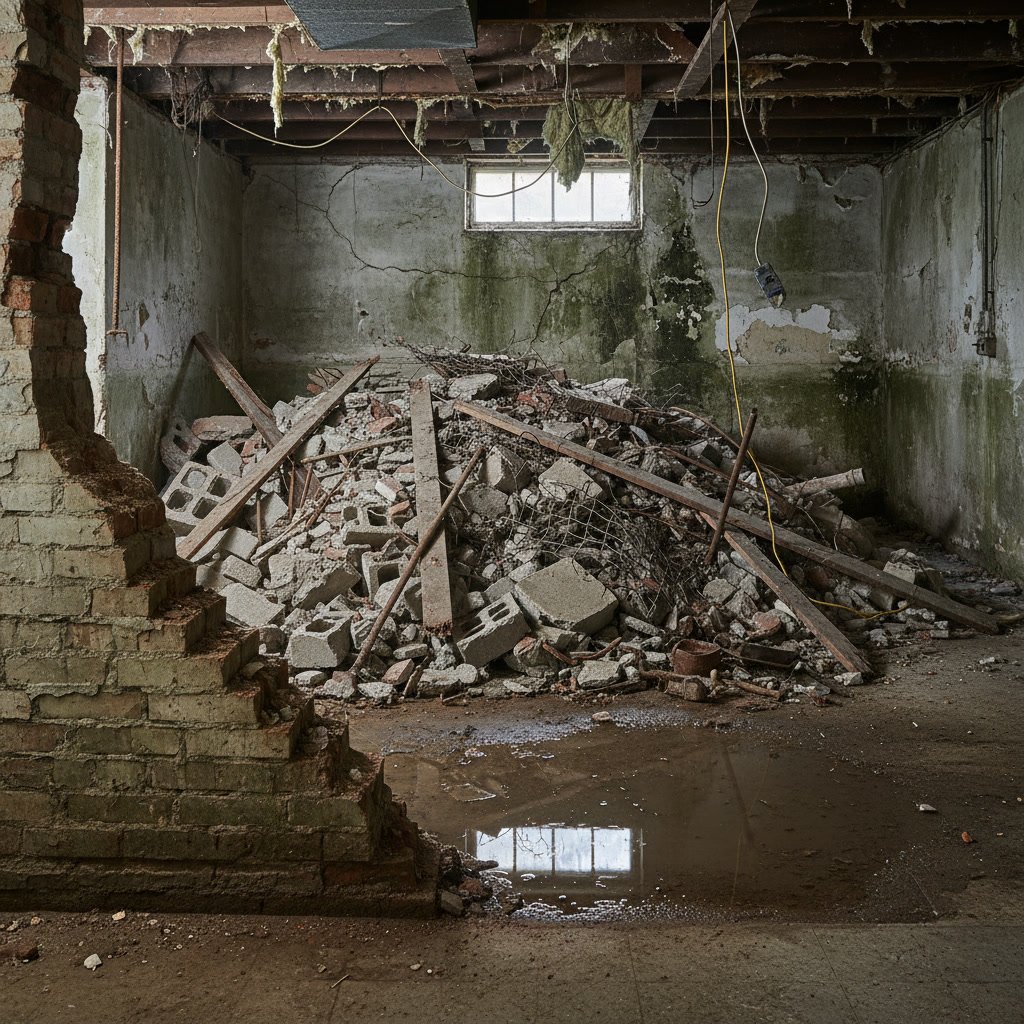
Most crawl spaces contain materials that must be removed before encapsulation. Old fiberglass insulation hanging from floor joists typically harbors mold, holds moisture, and provides nesting material for rodents. Debris, old vapor barriers, wood scraps from construction, and deteriorated materials all need clearing. In some cases, contaminated soil may require removal if it contains sewage, petroleum products, or other hazardous materials.
This demo and removal phase creates a clean slate for the encapsulation system. Contractors haul away all removed materials and level the ground surface to prepare for drainage installation. Removing contaminated insulation also eliminates one of the primary mold growth surfaces in most crawl spaces.
Installing Perimeter Drainage and Sump Systems
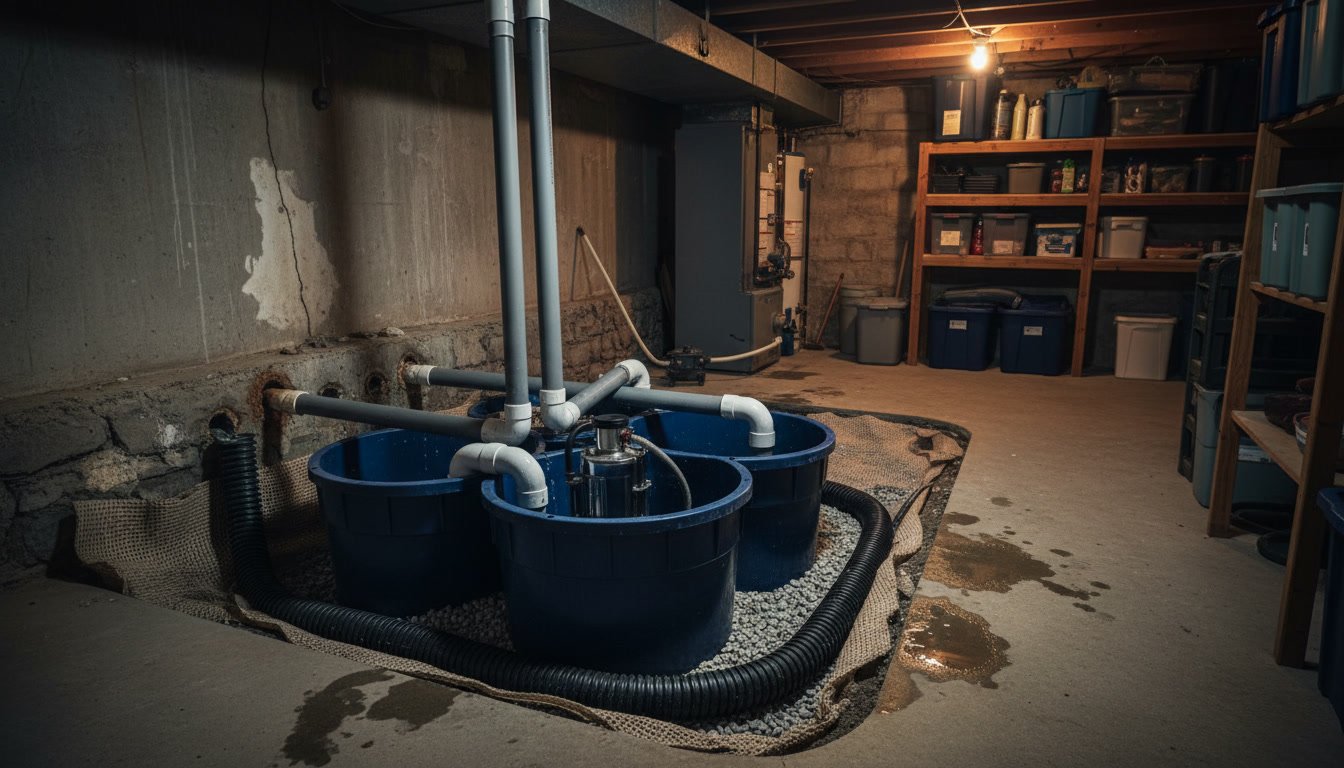
When ground water or high water tables threaten the crawl space, contractors install interior perimeter drainage before any sealing occurs. This involves excavating a shallow trench along foundation walls, installing perforated drainage pipe wrapped in filter fabric, and routing all water to a collection basin. The sump basin gets fitted with a submersible pump that automatically removes water before it can enter the crawl space.
Battery backup systems protect against pump failure during power outages, which often occur during the severe storms that cause the most water intrusion. The drainage system operates beneath the vapor barrier, invisible once encapsulation is complete, but continuously managing ground water before it becomes a problem.
Vapor Barrier Installation: The Foundation of Encapsulation
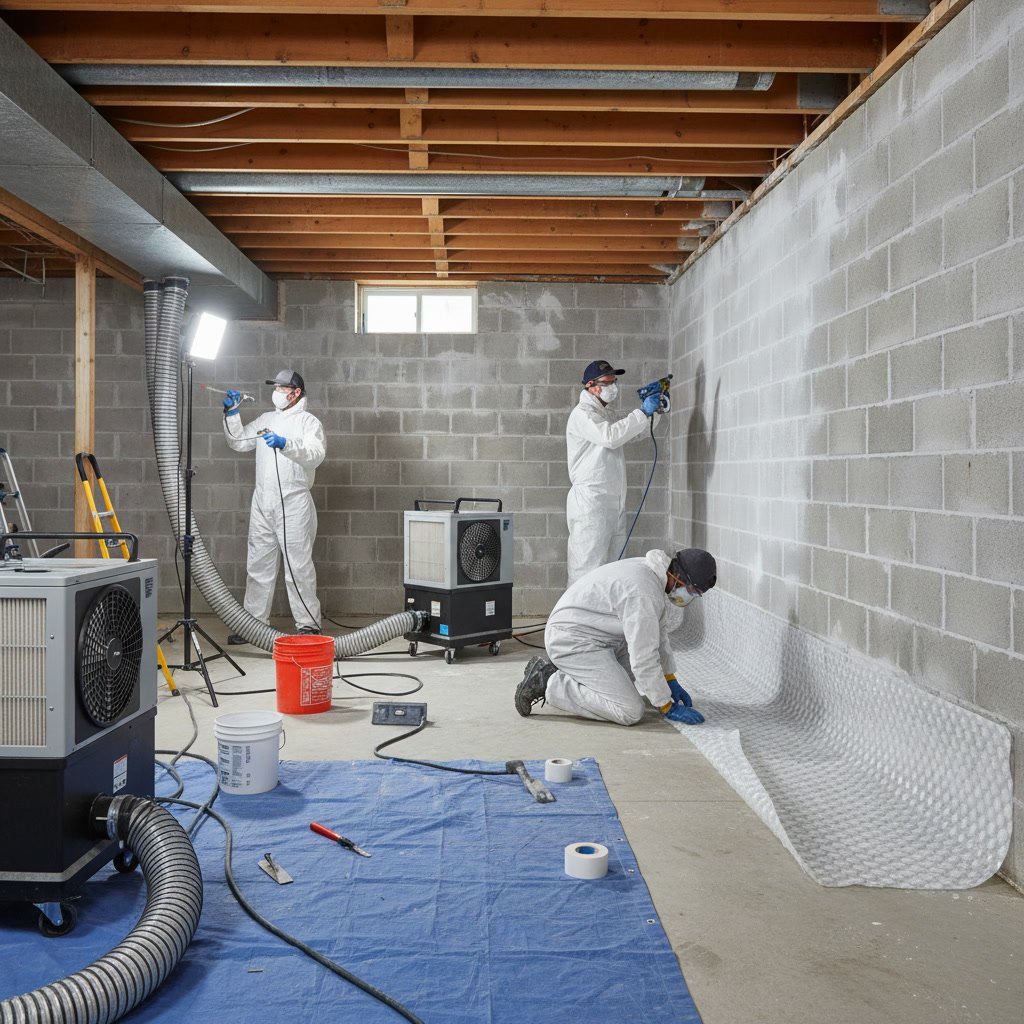
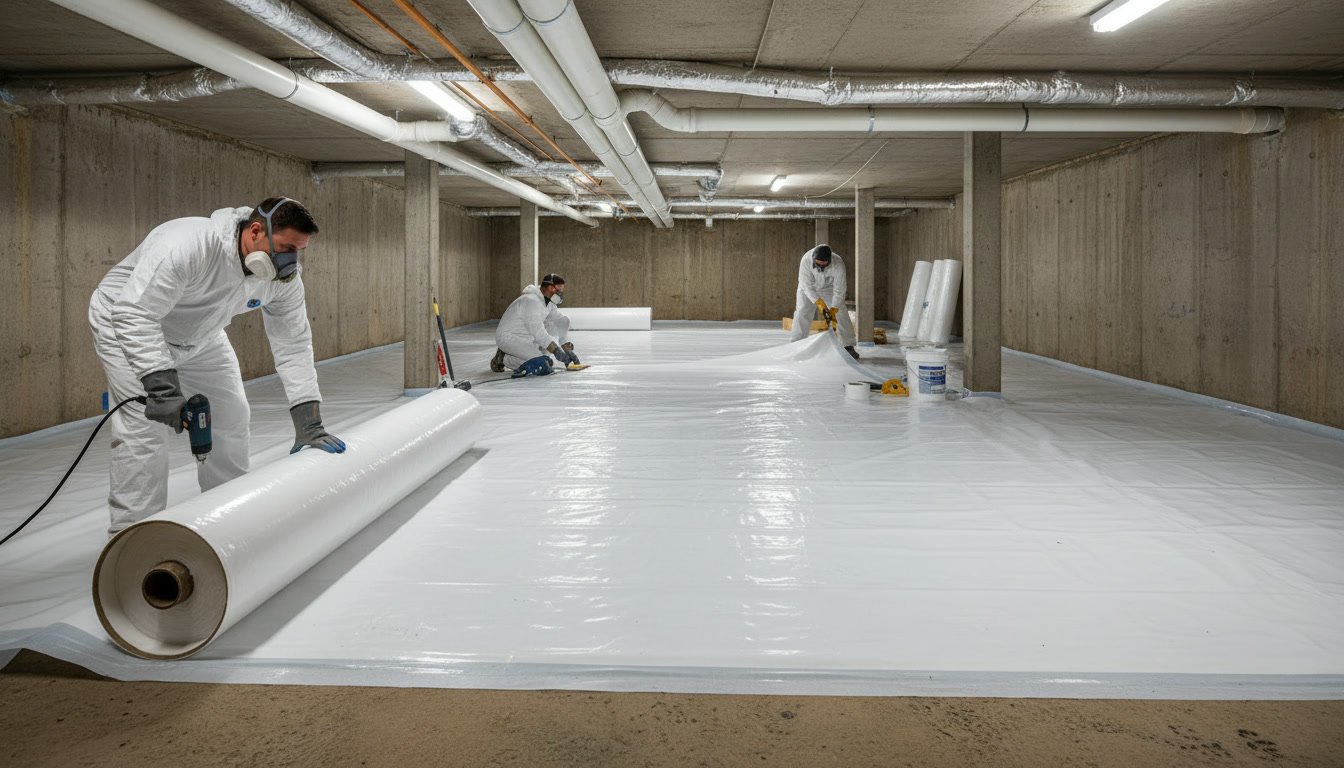
The vapor barrier represents the most visible component of encapsulation. Professional-grade barriers use reinforced polyethylene ranging from 12 to 20 mils thick, far heavier than the thin plastic sold at hardware stores. The material resists tears, punctures, and UV degradation while blocking moisture vapor transmission from the soil.
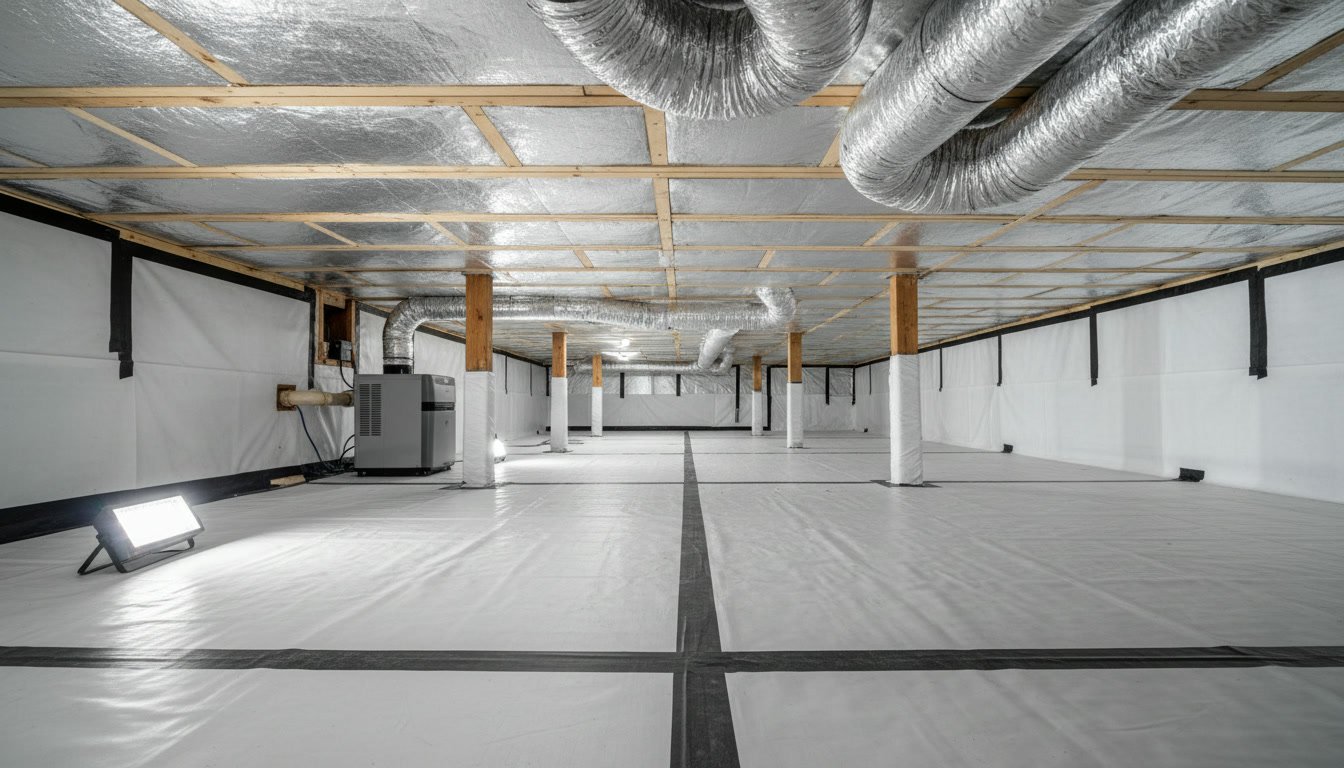
Installation requires careful attention to detail. The vapor barrier process starts by covering the entire floor with overlapping seams of at least 12 inches. Every seam gets sealed with specialized tape designed for permanent adhesion in high-humidity environments. The barrier extends up foundation walls at least six inches, and in full encapsulation systems, covers walls completely to the rim joist.
All penetrations for posts, pipes, and utilities require careful sealing. Contractors cut the barrier to fit snugly around each obstacle, then use tape and sealants to create a continuous moisture barrier. Corners, foundation piers, and wall-to-floor transitions receive extra attention because these junction points represent the most common failure locations.
Sealing Vents and Access Points to Create a Conditioned Space
After the vapor barrier installation, all foundation vents get permanently sealed from the inside. Contractors use rigid foam insulation cut to fit each vent opening, sealed in place with expanding foam and covered with the wall vapor barrier. This step contradicts traditional building practice but aligns with modern building science that recognizes sealed crawl spaces perform better in every measurable way.
The crawl space door or access hatch gets upgraded to an insulated, gasketed model that seals tightly when closed. Any rim joist penetrations, gaps around utilities entering the foundation, and cracks in the foundation wall receive sealant. The goal is creating an airtight envelope that separates the crawl space from outside conditions.
Installing Mechanical Dehumidification for Year-Round Moisture Control in More Dover
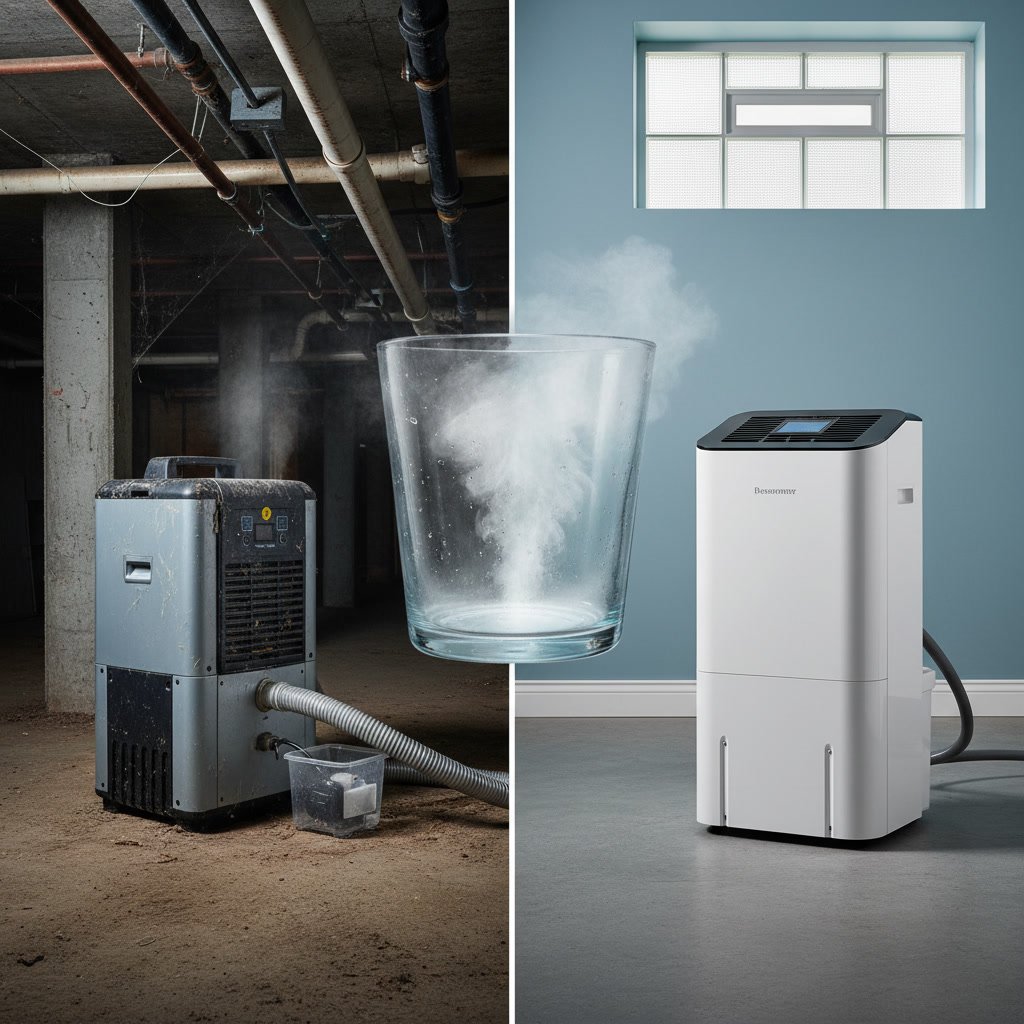
Even a perfectly sealed crawl space can experience elevated humidity from residual moisture in concrete and minimal air leakage. Professional encapsulation systems include dedicated crawl space dehumidifiers sized to the space volume and local climate conditions. These units differ significantly from basement dehumidifiers in their lower operating temperatures and ducted drainage.
The dehumidifier mounts on the wall or a platform, pulling air from the entire crawl space, removing moisture, and returning drier air. Most systems include condensate pumps that automatically discharge collected water to the sump basin or outside drainage. Properly sized units maintain humidity between 45 and 55 percent, the optimal range that prevents mold growth while avoiding overly dry conditions that can crack wood.
Setting the correct humidity target matters more than many homeowners realize. Below 40 percent humidity can cause dimensional lumber to shrink and crack. Above 60 percent allows mold spores to germinate. The narrow optimal range requires equipment that can fine-tune humidity control rather than simply running continuously.
Optional Insulation and Climate Integration
Some encapsulation projects include spray foam insulation applied to foundation walls rather than floor joists. This approach brings the crawl space inside the home’s thermal envelope, making floors warmer in winter and reducing heating costs. The insulation goes on after vapor barriers but before dehumidifier installation.
When crawl spaces become conditioned spaces, some contractors install a small supply duct from the home’s HVAC system to provide minimal air exchange. This passive conditioning helps maintain temperature stability and ensures the crawl space doesn’t become significantly warmer or cooler than living spaces above. The approach works best in newer, tighter homes where dedicated dehumidification handles moisture control.
Quality Control: Testing the Sealed System
After installation, professional contractors verify system performance. They check that the dehumidifier reaches and maintains target humidity levels within 24 to 48 hours. Sump pumps get tested to confirm proper activation and discharge. A visual inspection confirms all seams remain sealed and no gaps exist around penetrations.
Some contractors use humidity data loggers to track conditions over the first few weeks, ensuring the system performs as designed across varying weather conditions. This testing phase catches any installation defects before they become long-term problems. Adjustments to dehumidifier settings or additional sealing happen during this period.
Long-Term Maintenance Requirements for Encapsulated Spaces
Encapsulated crawl spaces require minimal but essential maintenance. Dehumidifier filters need cleaning or replacement every three to six months depending on dust levels. Annual inspections check that vapor barriers remain intact, seams stay sealed, and no new water intrusion points have developed. The sump pump should be tested quarterly to ensure the float switch operates correctly.
Most homeowners can perform basic maintenance like filter cleaning, but annual professional inspections catch developing issues before they compromise system performance. Well-maintained encapsulation systems function effectively for decades with only minor upkeep.
How Encapsulation Protects Your Investment and Indoor Air Quality
A properly executed crawl space encapsulation process delivers multiple benefits beyond moisture control. Structural wood members stay dry, preventing rot and preserving your home’s structural integrity. Floor temperatures increase by five to ten degrees in winter, improving comfort and reducing heating costs by 10 to 20 percent in most homes.
Indoor air quality improves significantly because approximately 40 percent of the air in your home originates in the crawl space through a phenomenon called the stack effect. Eliminating musty odors, mold spores, and humidity from the crawl space means cleaner air throughout your living spaces. Families with allergies or respiratory sensitivities often notice dramatic improvements after encapsulation.
The investment in professional crawl space waterproofing and encapsulation typically pays for itself through energy savings, prevented repair costs, and improved home value. Real estate appraisers recognize properly encapsulated crawl spaces as valuable upgrades that reduce risk for future owners.
Working with Experienced Local Professionals Makes the Difference
The difference between successful encapsulation and systems that fail within a few years comes down to installation quality and attention to detail. Every seam, penetration, and transition point represents a potential failure location. Experienced contractors understand how materials behave in New Hampshire’s climate and know which shortcuts lead to problems.
NH Dry Basement LLC has completed hundreds of encapsulation projects throughout the seacoast region, developing expertise in the specific challenges local soil conditions and water tables create. Family-owned businesses bring a level of accountability and craftsmanship that protects your investment for the long term. When the same people who install your system will answer the phone years later if questions arise, quality matters more than when crews move on to the next town.
For homeowners ready to permanently solve crawl space moisture problems and improve their home’s performance, NH Dry Basement LLC provides free assessments and detailed project proposals. Contact our team at +16032359598 to schedule an inspection and learn exactly what your crawl space needs for complete protection.