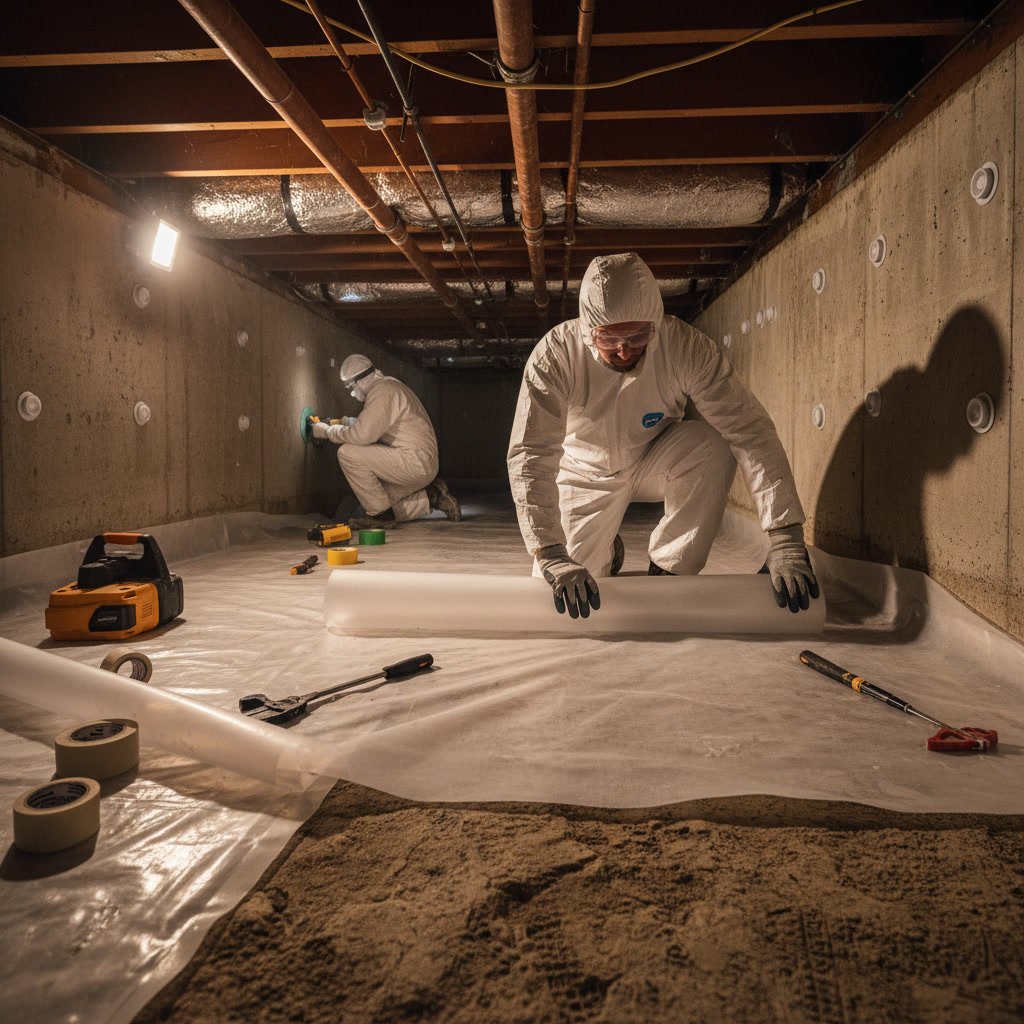
Vapor barrier installation creates a protective shield between the damp earth beneath your home and the wood framing above. A qualified contractor inspects your crawl space, cleans and grades the floor, rolls out heavy-duty polyethylene sheeting across every inch of exposed soil, seals all seams and penetrations, and secures the material to foundation walls and piers. This multi-step process typically takes one to three days depending on crawl space size and existing conditions.
Why Crawl Spaces Need Protection From Ground Moisture
Soil releases water vapor constantly through a process called evaporation. An unprotected dirt crawl space allows thousands of gallons of moisture to enter your home each year. This invisible vapor rises through floor joists, insulation, and eventually into living areas above. The resulting humidity creates ideal conditions for mold growth, wood rot, pest infestations, and structural damage.
New Hampshire homes face particular challenges during spring thaw and summer humidity. Coastal properties near Portsmouth and inland areas around Concord experience different moisture patterns, but both require proper protection. Ground moisture does not stay confined to the crawl space. It migrates upward and affects indoor air quality, energy costs, and the longevity of building materials.
What Professional Contractors Inspect Before Starting Work
A thorough inspection reveals problems that must be addressed before installing any barrier. Contractors examine foundation walls for cracks, check for standing water or drainage issues, assess existing insulation and mechanical systems, and measure clearance heights. They document plumbing penetrations, HVAC ducts, electrical conduits, and support columns that will require special attention during installation.
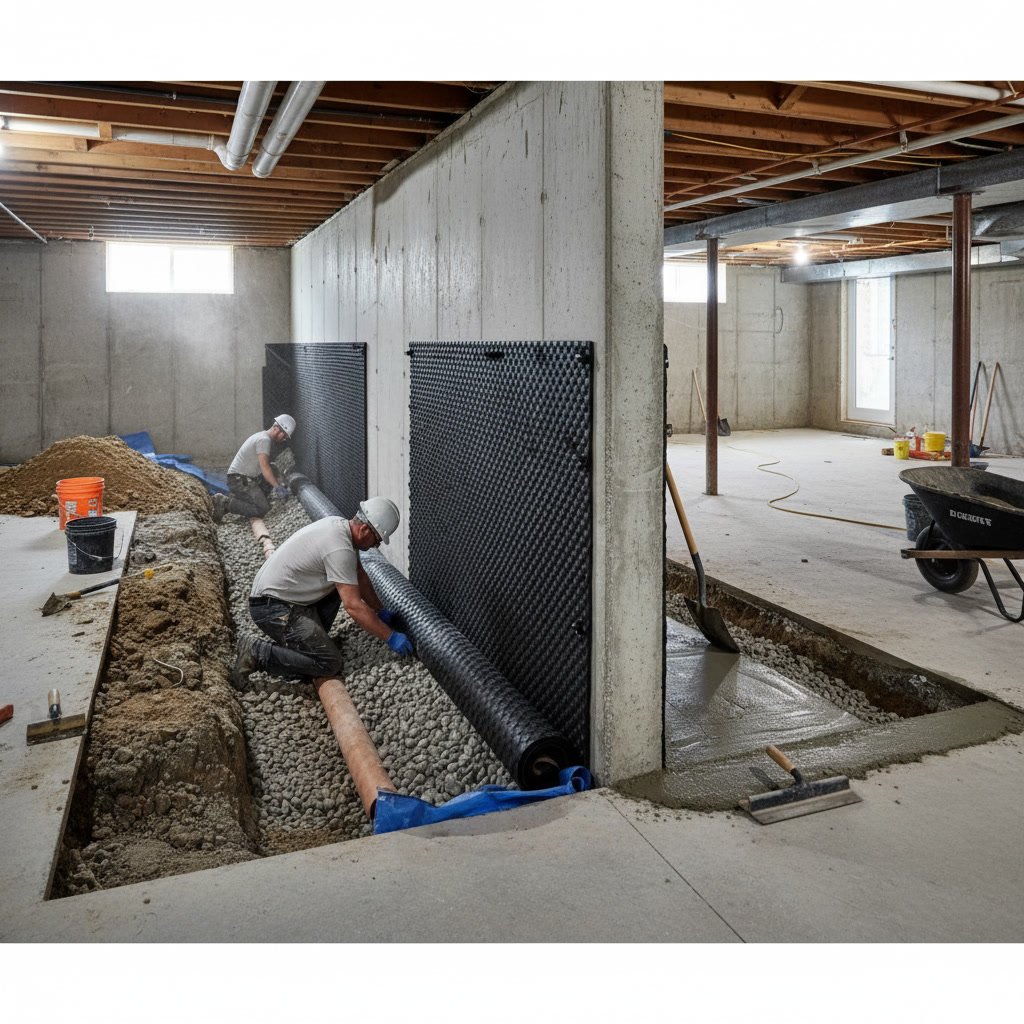
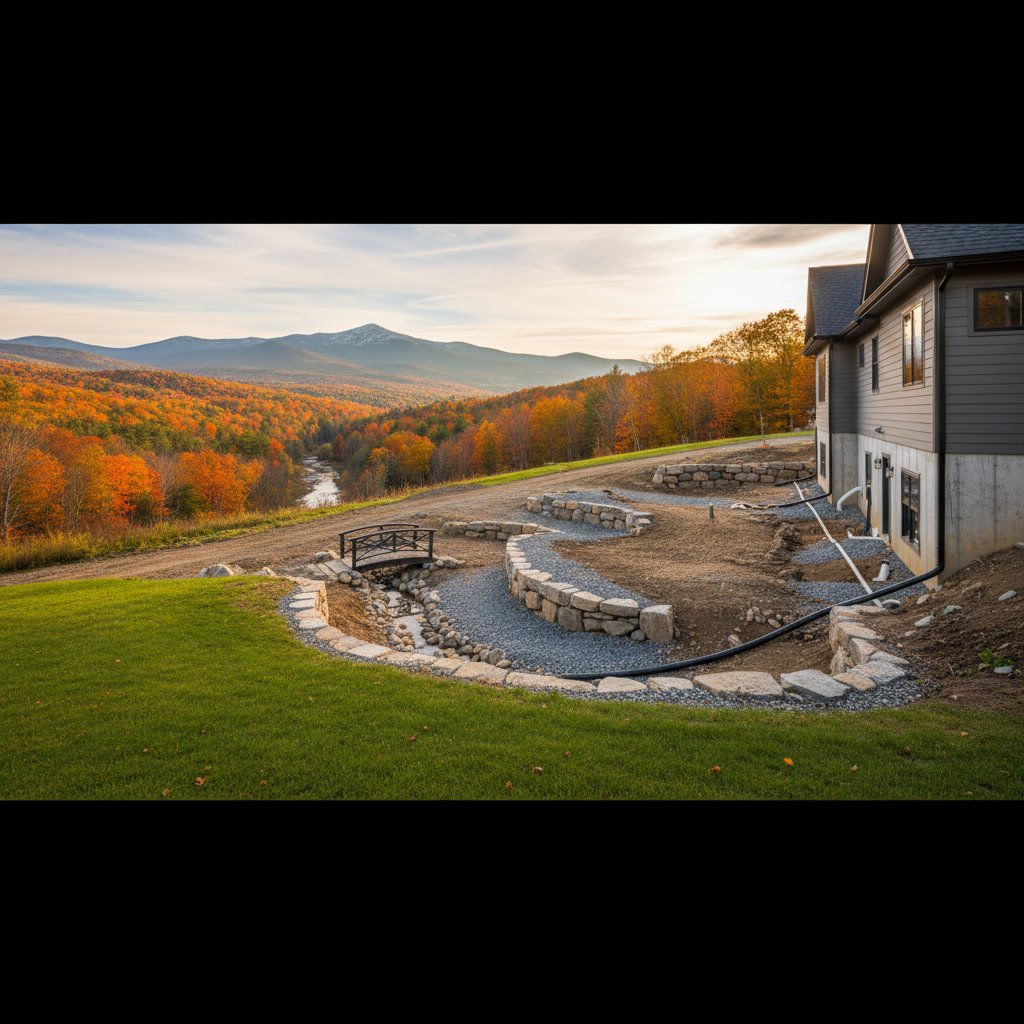
The inspection also identifies whether crawl space drainage improvements are needed before barrier work begins. Water intrusion through walls or floor must be resolved first, otherwise moisture will pool on top of the new barrier and create worse problems. Some homes need exterior grading corrections or interior drainage channels installed as preparatory work.
Cleaning and Preparing the Crawl Space Floor
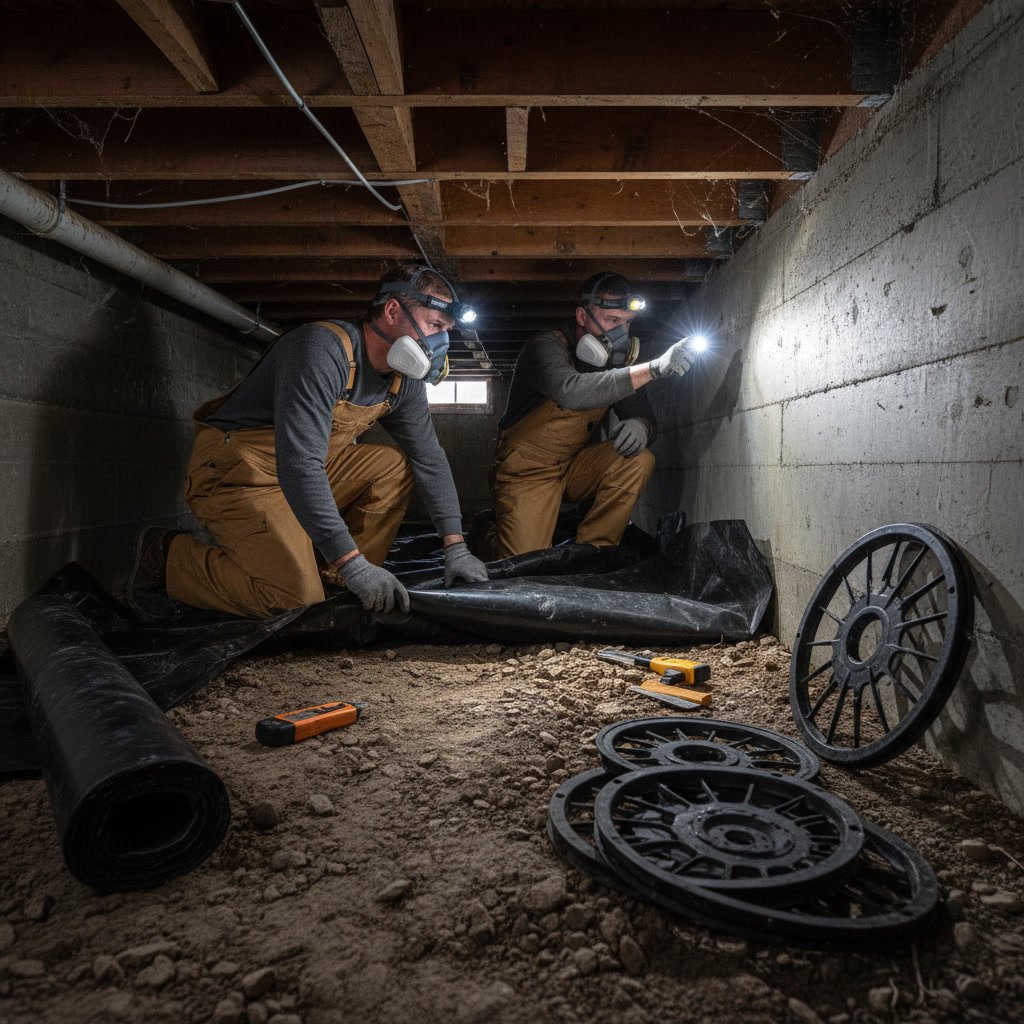
Preparation accounts for roughly 40 percent of total project time. Contractors remove debris, old insulation, abandoned materials, and anything resting on the dirt floor. Sharp rocks, roots, and protruding objects get removed or flattened because they can puncture the barrier material. The floor is graded to eliminate low spots where water might collect.
Some projects require more extensive work. If mold is present on wooden members, remediation must happen before sealing the space. Standing water needs to be pumped out and the source addressed. Pest infestations require treatment before closing off the area. This preparation phase determines whether the barrier will perform properly for decades or fail within a few years.
Selecting the Right Barrier Material and Thickness
Not all plastic sheeting qualifies as a proper vapor barrier. Building codes specify minimum standards, but professional installations exceed these benchmarks. Quality barriers use reinforced polyethylene between 10 and 20 mils thick. The material must resist punctures, tears, and ultraviolet degradation if any natural light enters the space.
Thicker materials cost more but last longer and withstand foot traffic during future maintenance visits. Some barriers include antimicrobial treatments to prevent mold growth on the plastic surface itself. White or reflective surfaces brighten the space and make inspections easier. The barrier must also have low permeance ratings, measured at 0.1 perms or less, to effectively block moisture transmission.
Rolling Out and Positioning the Barrier Material in More Dover Homes
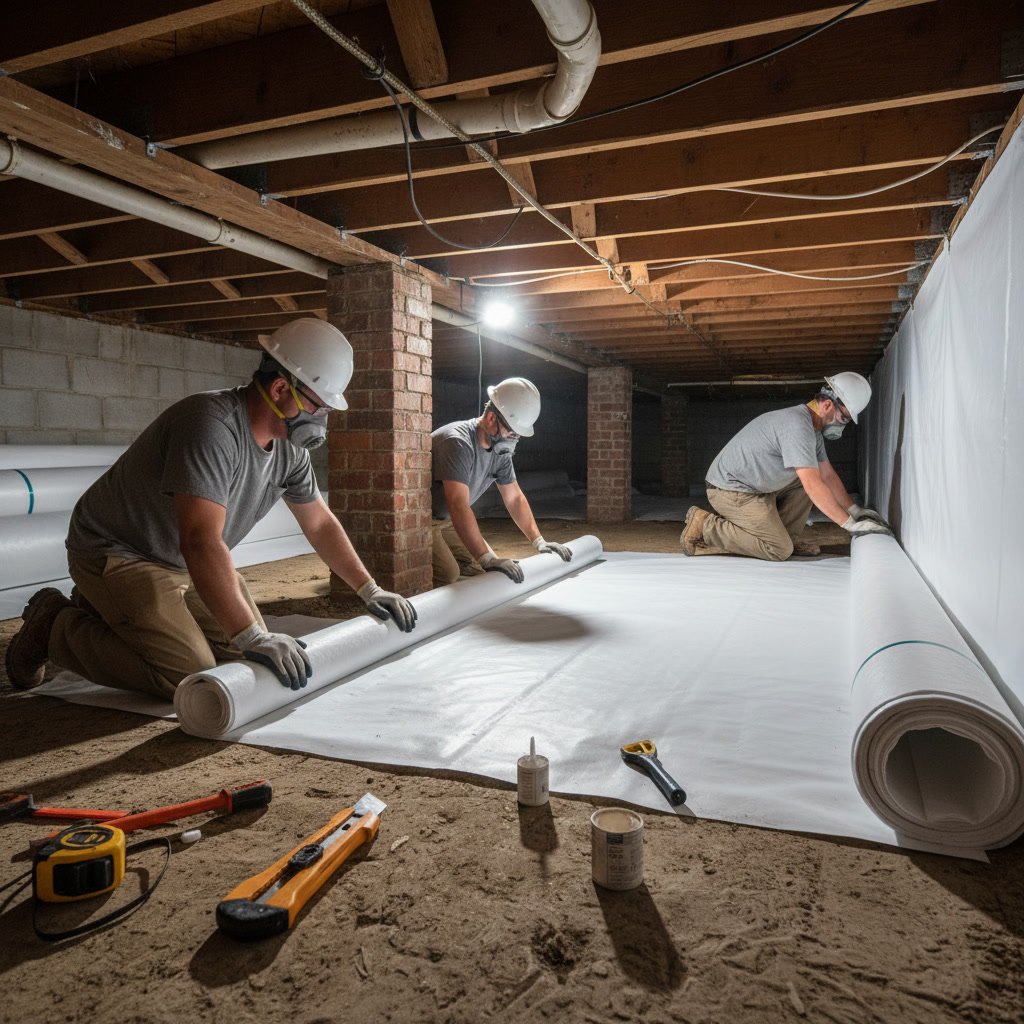
Installation begins at one corner and progresses systematically across the entire floor. Contractors unroll the material in overlapping sheets, allowing 12 to 24 inches of overlap at all seams. The barrier extends up foundation walls at least six inches, and some installations carry it 12 to 18 inches up the wall for added protection.
Around support piers and columns, installers cut the material carefully and wrap it up the base. Plumbing penetrations require circular cuts that fit snugly around pipes. HVAC ducts, electrical conduits, and other obstacles receive custom cuts. NH Dry Basement LLC takes extra care during this phase because gaps and tears compromise the entire system. The goal is continuous coverage with no exposed soil remaining visible.
Sealing Every Seam and Joint Properly
Unsealed seams allow moisture to bypass the barrier entirely. Professional installers use specialized tape designed for polyethylene bonding. This tape differs from standard duct tape or packing tape, which lose adhesion in humid environments. The tape must be at least three inches wide and applied with firm pressure across the full length of every seam.
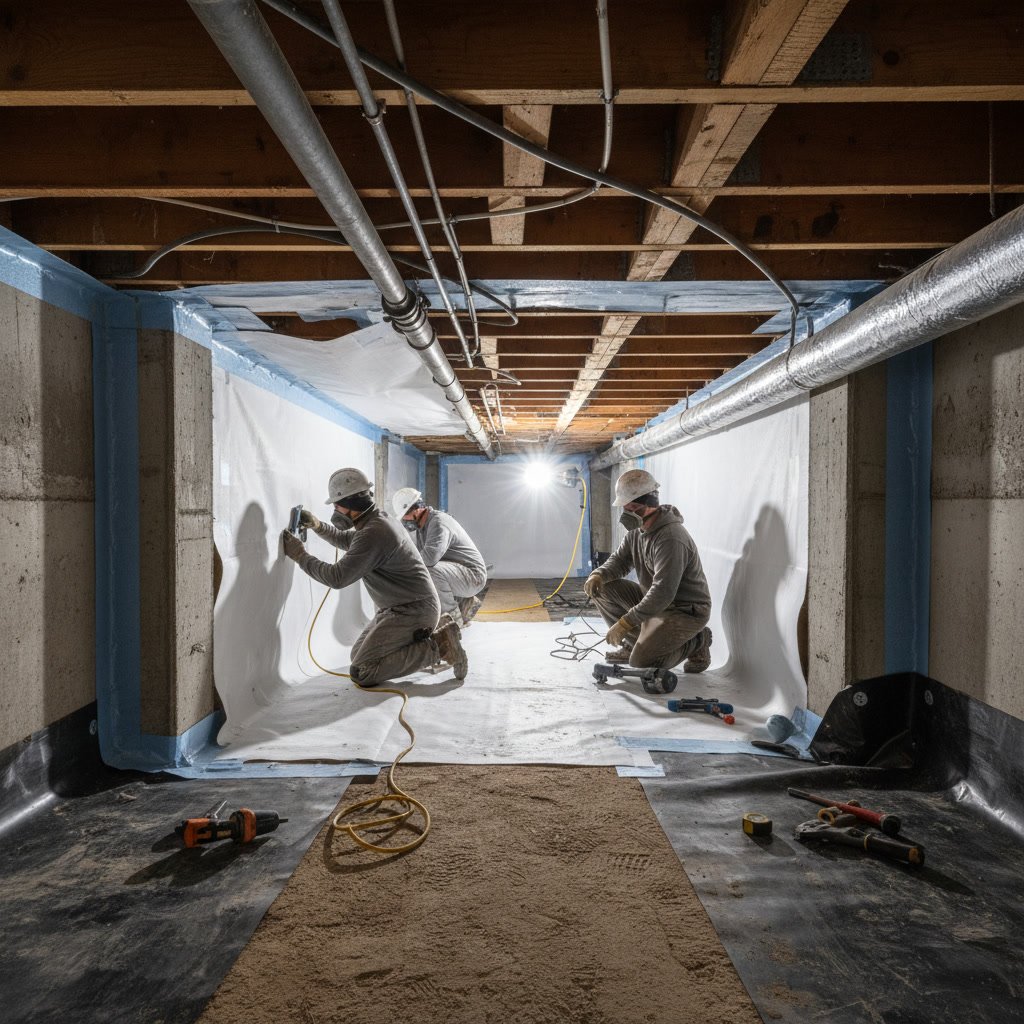
Perimeter edges where the barrier meets foundation walls require caulk or foam sealant in addition to mechanical fasteners. Penetrations around pipes need collars of sealant. Support columns wrapped with barrier material get taped at vertical seams. This sealing work separates adequate installations from truly effective ones. A barrier with unsealed gaps performs only slightly better than no barrier at all.
Securing the Barrier to Walls and Floor
Mechanical fasteners hold the barrier in place permanently. Along foundation walls, contractors use furring strips, battens, or specialized termination bars secured with concrete fasteners. These create a tight seal and prevent the barrier from pulling away over time. Some installers apply construction adhesive as a secondary attachment method.
On the floor, the overlapping seams typically stay in place through their own weight, but high-traffic areas may receive additional anchoring. Tape alone does not constitute adequate fastening for wall edges. The barrier must resist movement from air currents, temperature changes, and any future maintenance activity. Proper fastening also creates a cleaner appearance and protects the barrier from accidental damage.
Integrating the Barrier With Existing Systems
Most crawl spaces contain utilities that complicate installation. HVAC ductwork running beneath floor joists cannot be covered by the barrier but must be worked around carefully. Plumbing that previously sat on the dirt floor now rests on the new barrier surface, requiring inspection to ensure pipes have adequate support and won’t sag over time.
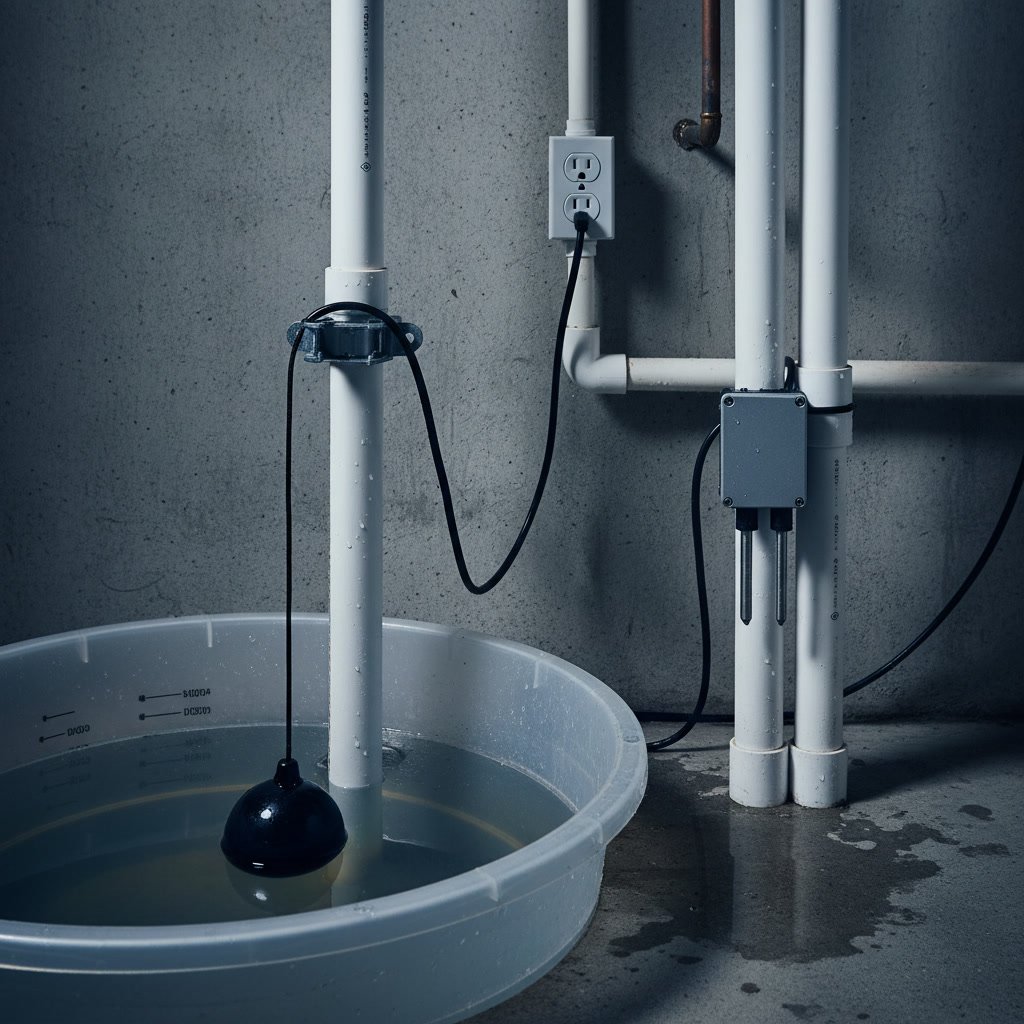
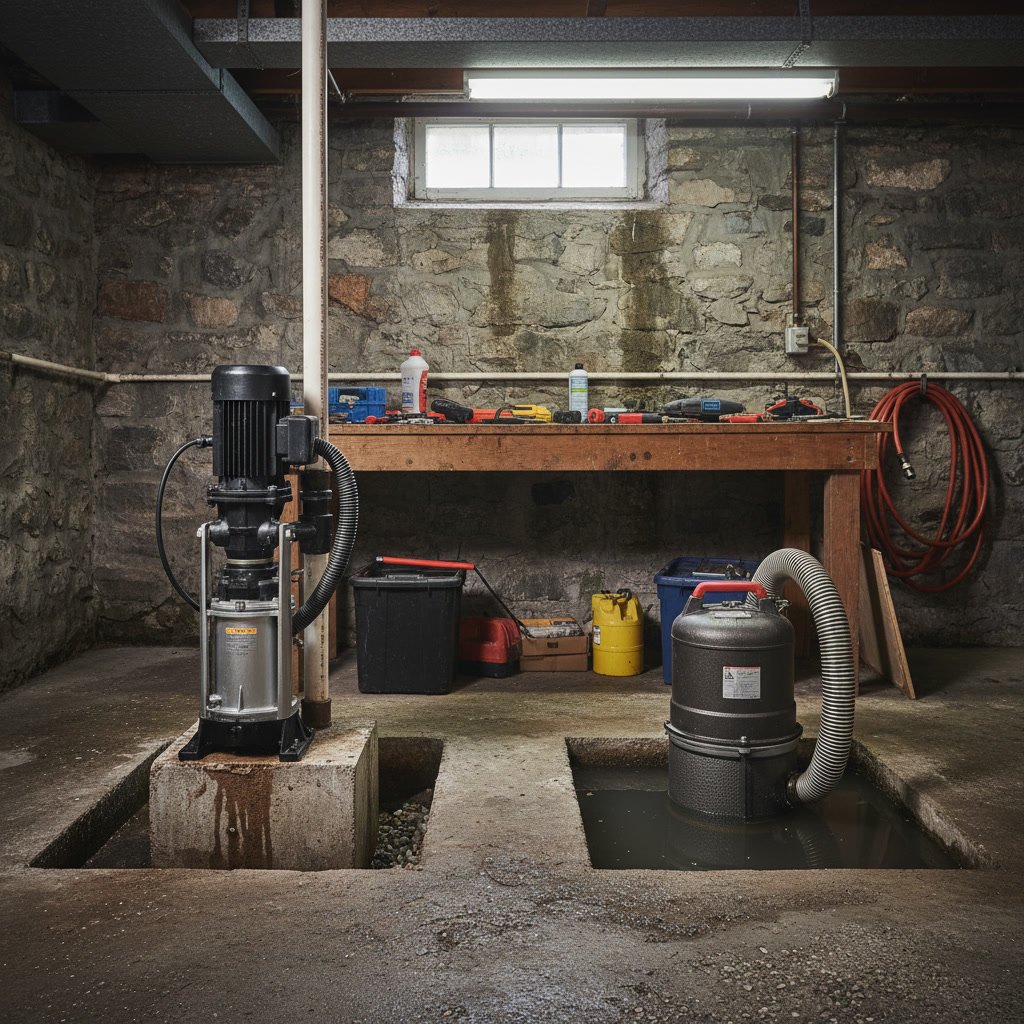
If the crawl space already has a sump pump or perimeter drainage system, the barrier must integrate with these components. Installers cut openings for drain lines and seal around them. Some homes benefit from adding ventilation systems during the same project to manage humidity after the space is sealed. Coordinating these elements during initial installation proves easier and more cost-effective than retrofitting later.
Adding Insulation and Climate Control Upgrades
Once the barrier is sealed, many homeowners add insulation to foundation walls rather than between floor joists. This approach keeps the crawl space within the conditioned envelope of the home, maintaining more stable temperatures year-round. Rigid foam boards attach directly to foundation walls above the barrier termination point.
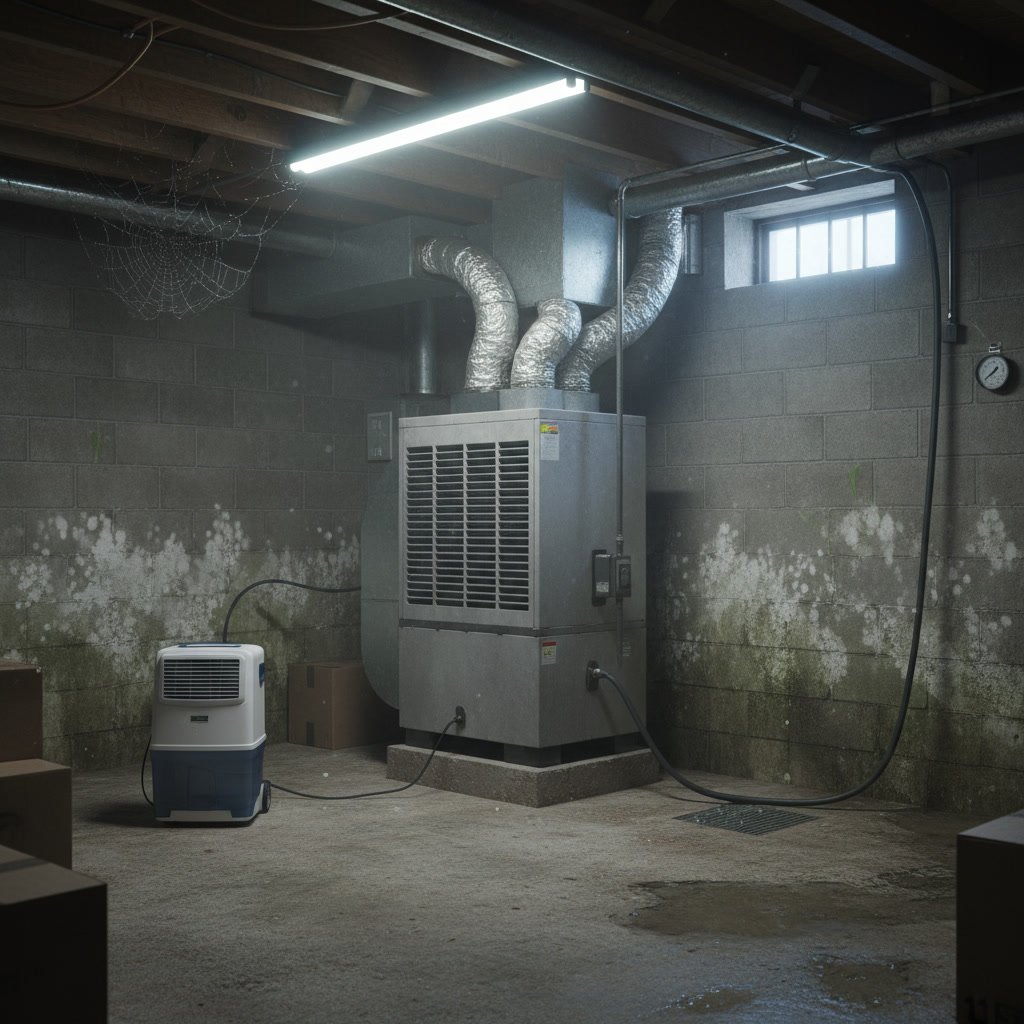
Some projects include dehumidification systems to control moisture that enters through foundation walls or rim joists. While the barrier blocks ground moisture, other sources can still introduce humidity. A properly sized dehumidifier keeps relative humidity below 60 percent, preventing mold growth and protecting the investment in your home. These systems work best when installed immediately after barrier completion, creating a comprehensive moisture management solution.
Final Inspection and Quality Verification
Professional contractors perform a final walkthrough before considering the job complete. They check every seam, inspect all penetrations, verify wall attachments, and confirm no soil remains exposed. Lighting the space from different angles reveals gaps or unsealed areas that need correction. Some contractors document the installation with photographs for homeowner records and warranty purposes.
The inspection also includes reviewing access to utilities for future maintenance. Crawl space doors or vents may need modification depending on whether the space will remain vented or transition to a sealed configuration. Homeowners receive guidance on monitoring humidity levels and signs that might indicate problems. This attention to detail ensures the installation will perform as expected for 20 years or more.
Protecting Your Home for Decades to Come
A properly installed barrier transforms your crawl space from a source of moisture problems into a stable, protected foundation for your home. The process requires skill, attention to detail, and quality materials that meet or exceed building codes. Each step builds on the previous one, creating a complete system that blocks ground moisture, improves indoor air quality, reduces energy costs, and protects structural components from rot and decay.
Homeowners throughout the region deserve crawl spaces that stay dry year-round. Whether your home sits in Rochester, Manchester, or anywhere in between, proper moisture protection extends the life of your most valuable investment. NH Dry Basement LLC brings family-owned dedication to every project, treating each crawl space with the same care we would use in our own homes.
If you are ready to protect your crawl space from moisture damage, contact our team for a detailed inspection and estimate. We serve Barrington and surrounding communities with honest assessments and quality workmanship. Call +16032359598 to schedule your consultation and take the first step toward a healthier, drier home.