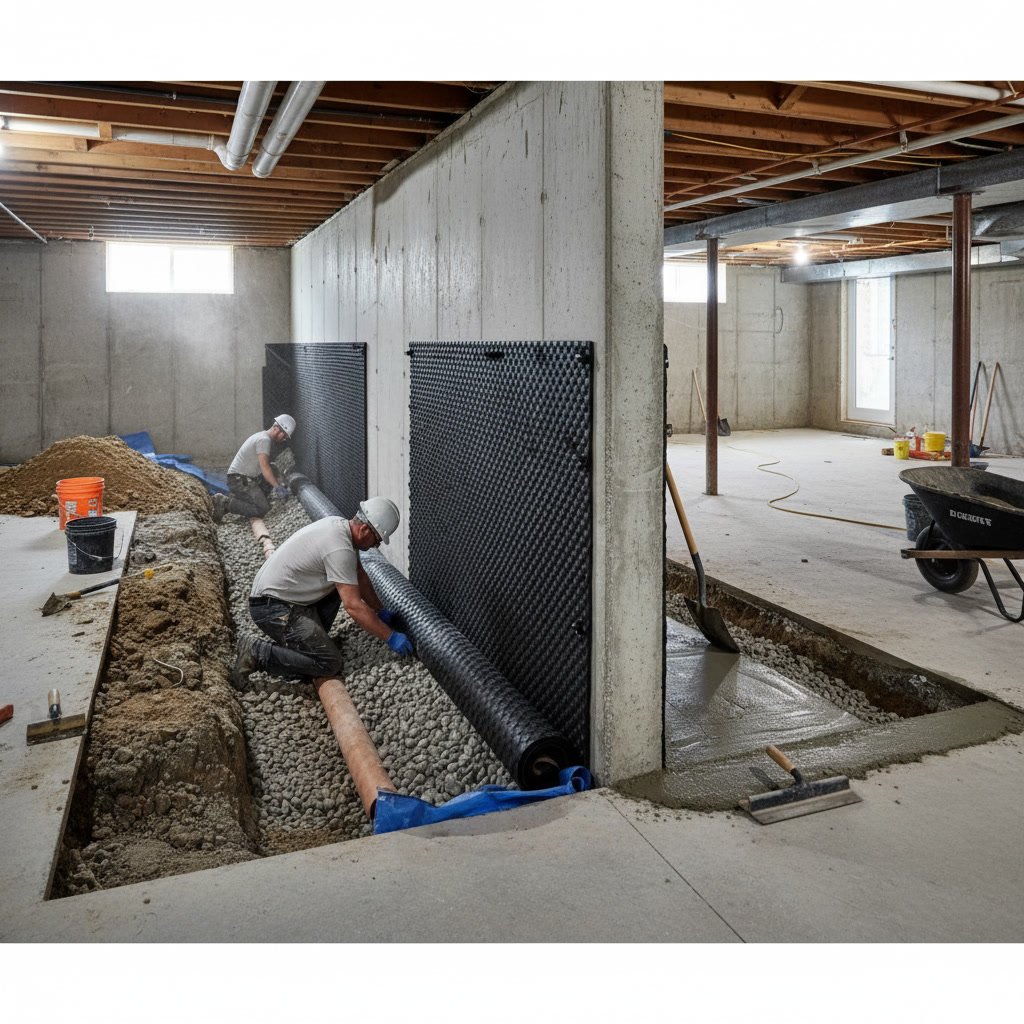
An interior drainage system installation begins with careful excavation of a trench along the basement footer, followed by placement of perforated pipe and gravel, connection to a sump basin, and proper backfill with new concrete. The entire process typically takes two to four days for an average basement and creates a permanent solution that intercepts water before it enters your living space. Each step must be executed correctly to ensure decades of reliable performance.
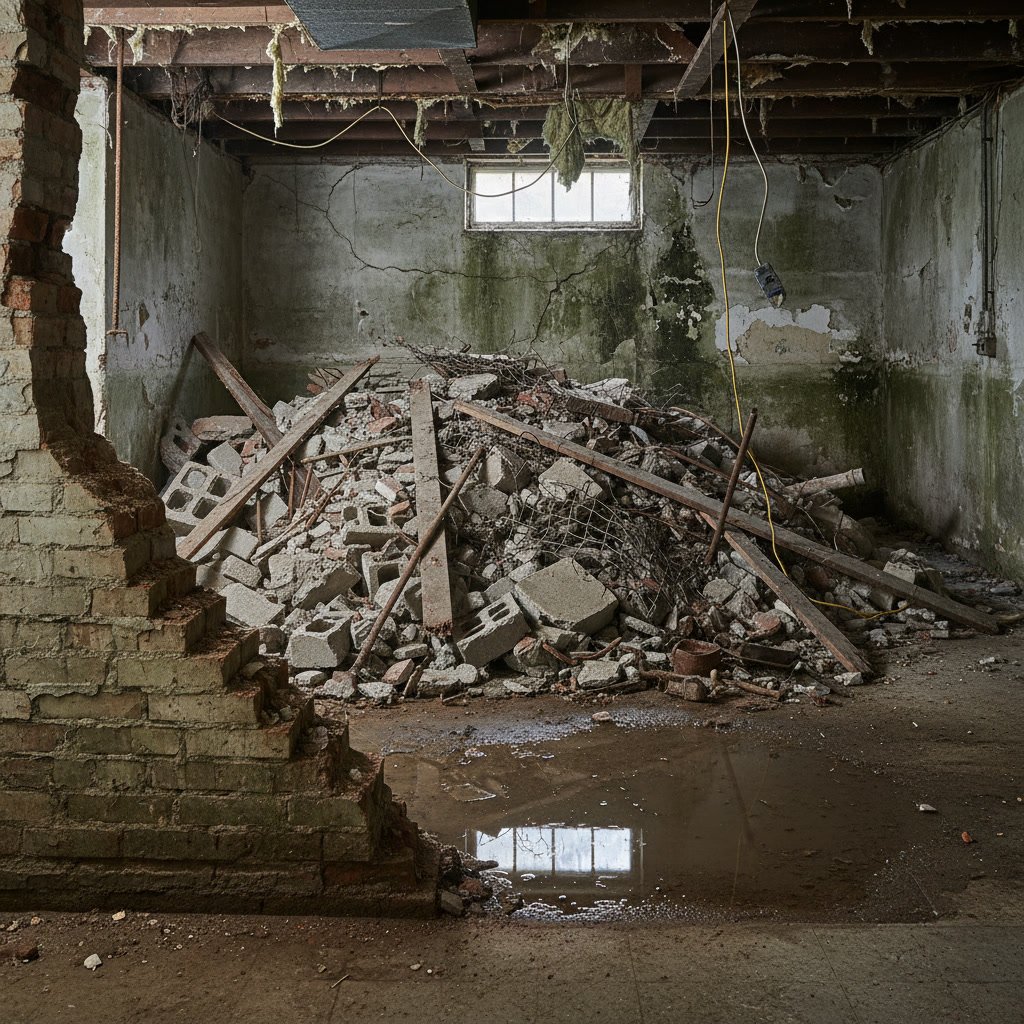
Basement water problems affect countless New Hampshire homes, from older properties with no waterproofing to newer construction with failed exterior systems. When water finds its way through foundation walls or up through floor cracks, an interior perimeter drain becomes the most reliable defense. Unlike exterior excavation that requires heavy equipment and landscape destruction, interior systems work from inside your basement to channel water away before it creates damage.
Why Interior Drainage Systems Outperform Other Waterproofing Methods
Interior perimeter drains intercept groundwater at the most vulnerable point: where your basement floor meets the foundation wall. This footer area experiences the highest hydrostatic pressure during heavy rain or snowmelt. While exterior waterproofing can fail over time as soil settles and membranes degrade, interior systems remain accessible for inspection and maintenance.
The system works by relieving water pressure before it builds enough force to seep through concrete. Perforated pipe collects water along the entire basement perimeter and directs it to a low point where a sump pump removes it from your home. This approach addresses both wall seepage and floor moisture simultaneously, making it more comprehensive than surface treatments or crack injections.
Initial Assessment and Preparation Before Breaking Ground
Before any excavation begins, a thorough inspection identifies existing moisture sources, floor composition, and potential obstacles. Technicians check for utility lines, existing plumbing, and structural elements that might affect the drainage path. They also evaluate your basement’s lowest point to determine optimal sump basin placement.
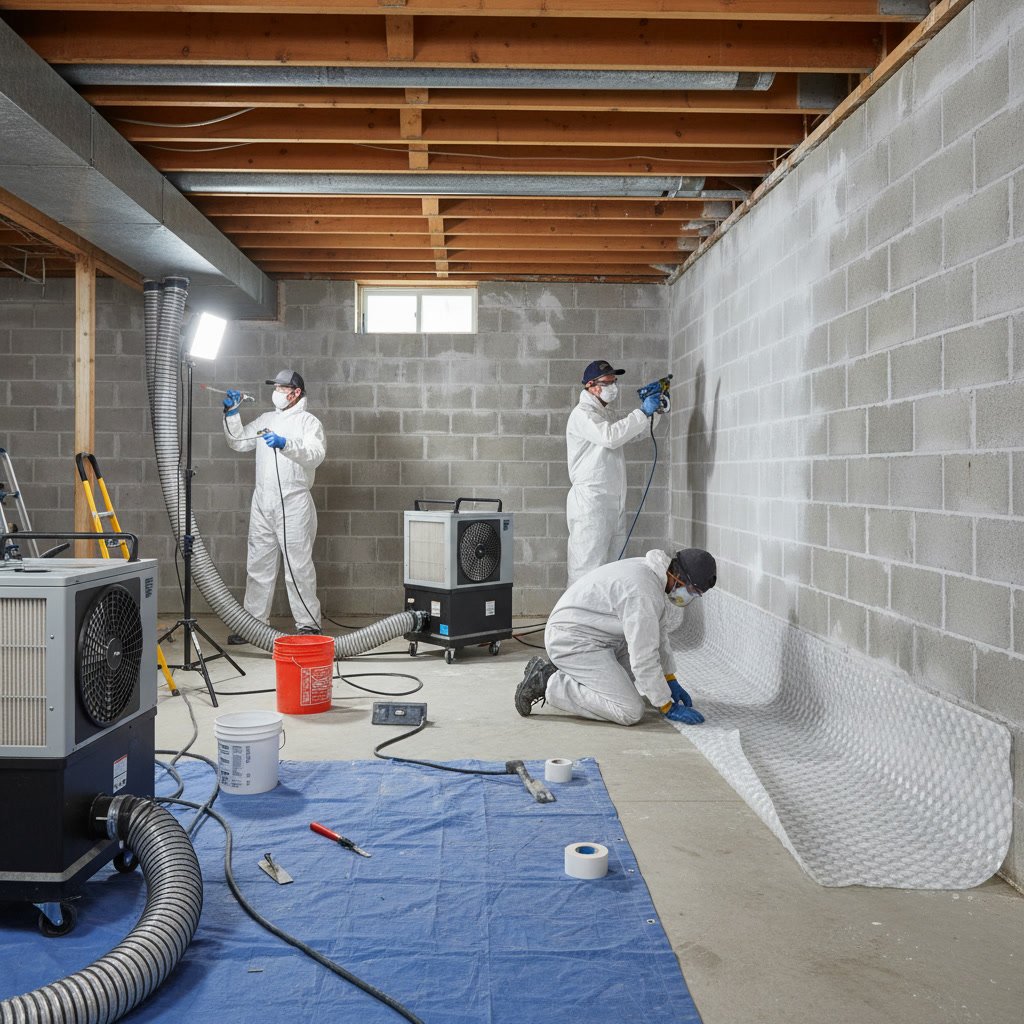
Proper preparation includes protecting finished areas with plastic sheeting and removing stored items from work zones. The concrete saw and jackhammer create significant dust, so sealing off stairways and covering HVAC returns prevents debris from spreading throughout your home. Professional crews at NH Dry Basement LLC typically complete this prep work in under an hour for standard basements.
Concrete Removal and Trench Excavation in More Dover Basements
The excavation phase starts with cutting a precise line in your basement floor, typically 12 to 16 inches from the foundation wall. A concrete saw equipped with a diamond blade cuts through the slab to a depth of four inches, creating clean edges that simplify the final concrete restoration. This cut line follows the entire perimeter except where doorways or other obstacles require modifications.
Once the concrete is scored, a jackhammer breaks it into manageable pieces for removal. Crews dig down to expose the footer, usually reaching depths of 12 to 18 inches below your existing floor level. The trench width typically measures eight to 12 inches, providing enough room for pipe and gravel while minimizing the amount of new concrete needed for restoration.
Footer Cleaning and Inspection During Excavation
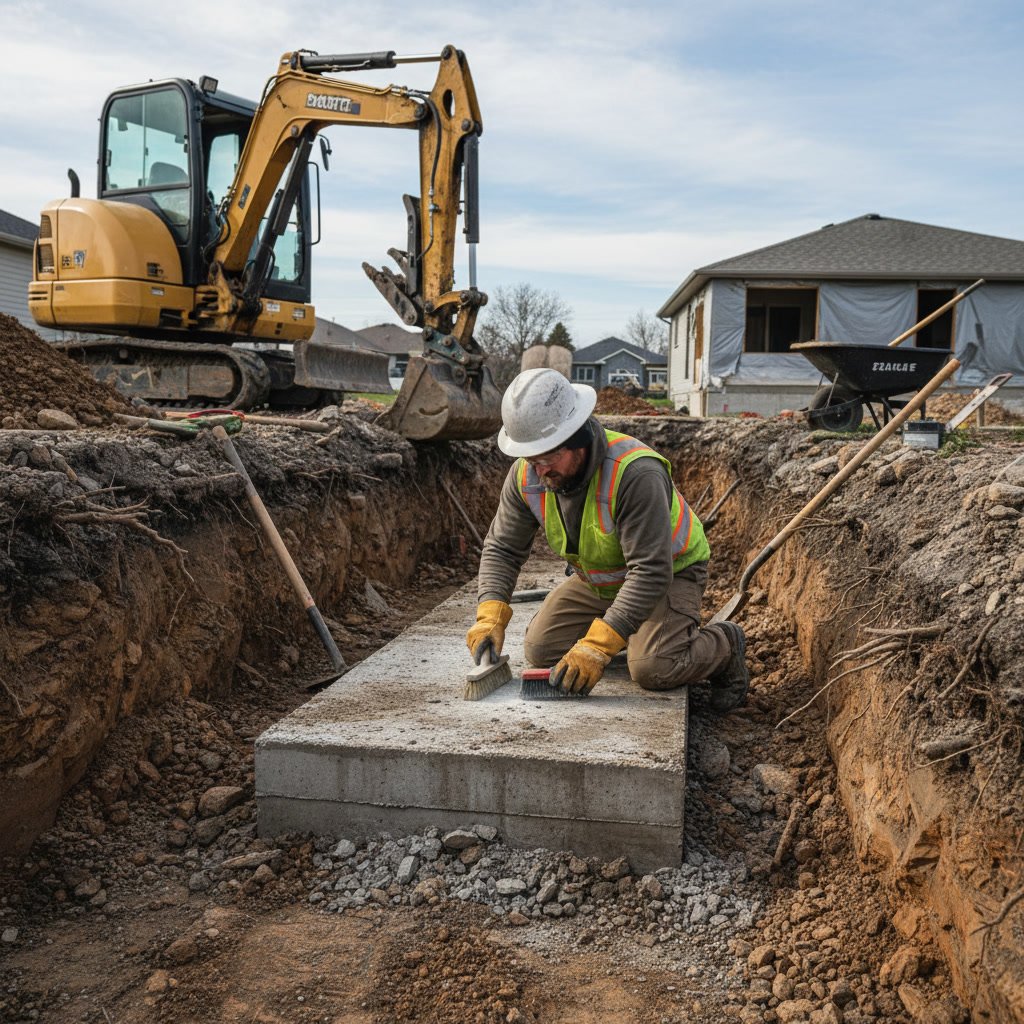
With the trench open, technicians clean the exposed footer to inspect for cracks, deterioration, or structural concerns. This step reveals issues that might compromise your foundation’s integrity over time. Small cracks get documented, while larger structural problems may require additional repairs before the drainage system installation continues.
The cleaning process also removes years of accumulated sediment and mineral deposits that can interfere with proper drainage. A clean footer ensures water flows freely into the perforated pipe rather than pooling against the foundation. This attention to detail separates professional installations from rushed jobs that simply drop pipe into a dirty trench.
Drainage Pipe Selection and Placement Strategy
Most quality installations use four-inch perforated PVC pipe with holes positioned to face downward and sideways. This configuration allows water to enter from the gravel bed while preventing sediment from clogging the system. The pipe sits on a base of clean three-quarter-inch crushed stone, elevated slightly above the absolute bottom of the trench to ensure water can flow from all directions.
Proper pipe slope is critical but often misunderstood. The perforated section around your perimeter needs minimal slope, just one-eighth inch per foot, because water enters along the entire length. The solid discharge pipe connecting to your sump basin requires a steeper grade of one-quarter inch per foot to move collected water efficiently. Professional crews use a laser level to verify these slopes during installation.
Stone Backfill and Filter Fabric Application
Clean crushed stone fills the trench to just below floor level, surrounding the pipe completely. This stone serves as a filter and reservoir, allowing water to flow freely while keeping fine soil particles from entering the pipe. The stone size matters because larger aggregate creates more void space for water movement, while smaller gravel packs tighter and can reduce flow capacity.
A layer of filter fabric goes over the stone before any soil or concrete backfill. This geotextile barrier prevents concrete fines from washing down into the stone bed during the final restoration phase. Without this fabric, cement particles gradually fill the voids between stones, reducing the system’s effectiveness over decades. Installing proper drainage systems requires this often-overlooked step that extends system life from 20 years to 50 or more.
Sump Basin Integration and Pump Connection
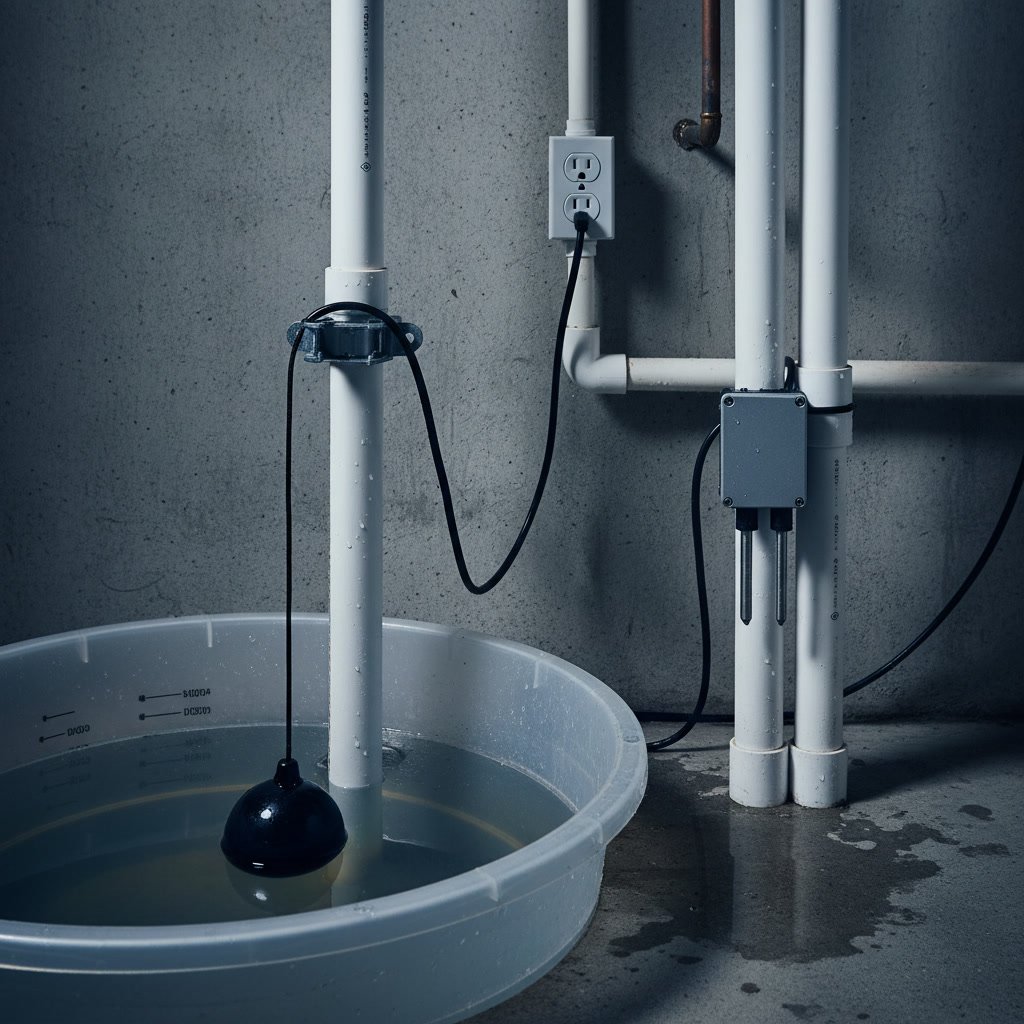
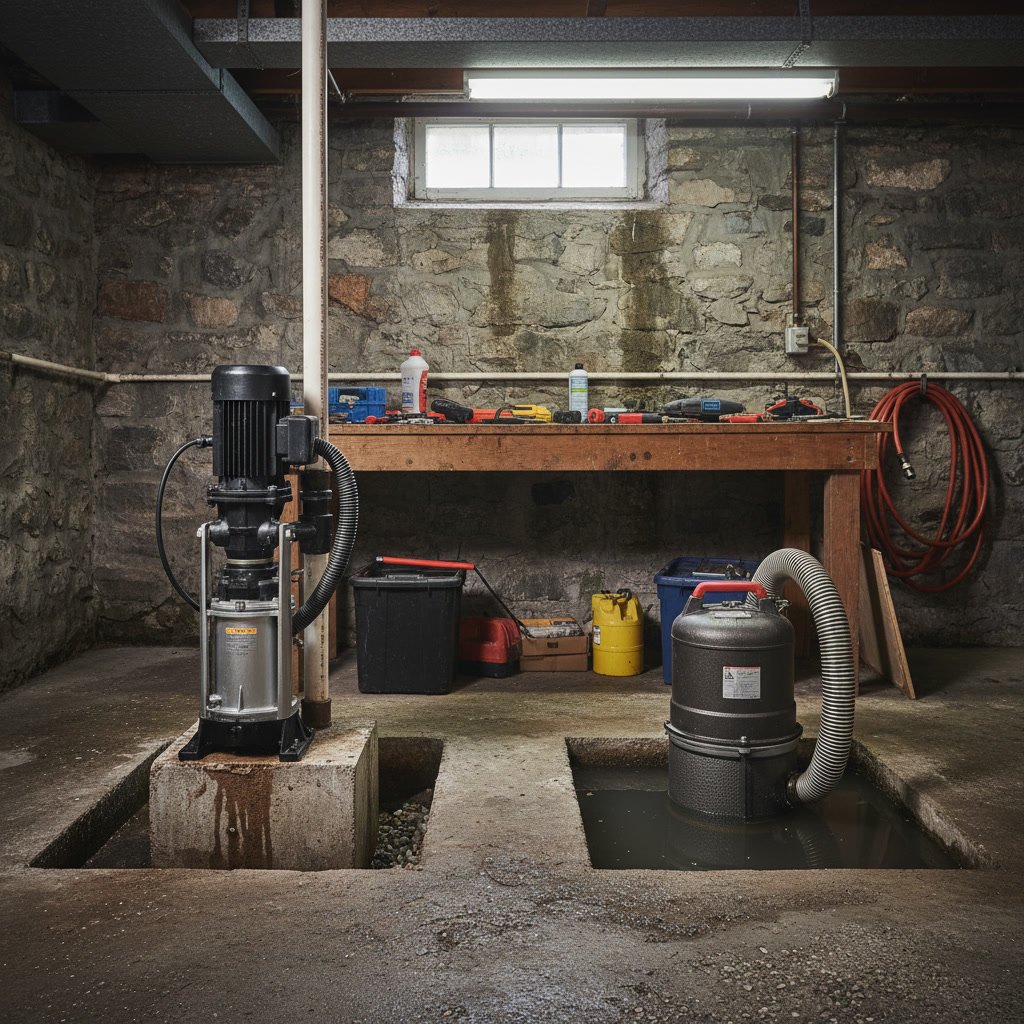
The perforated pipe terminates at a sump basin, typically a 24-inch diameter basin set below floor level. Solid PVC pipe connects each section of perimeter drain to this central collection point. Basin placement considers electrical access for the pump, discharge routing to the exterior, and accessibility for future maintenance.
Professional installations include a basin liner with pre-drilled inlets at the proper heights to accept incoming drain pipes. The basin sits on a gravel base to allow water infiltration from below while the pump removes it faster than it can accumulate. Quality sump pumps include check valves and proper discharge piping to move water at least ten feet from your foundation.
Concrete Floor Restoration and Finishing Techniques
After the drainage system is complete and tested, new concrete fills the trench to restore your floor. The mix should match your existing slab thickness, typically four inches, and use proper aggregate ratios for strength and durability. Crews trowel the surface smooth and feather the edges to blend with your existing floor.
The new concrete requires three to seven days to cure before you can place heavy items on it. During this time, keeping foot traffic light prevents surface damage and cracking. Some installers apply a curing compound to slow moisture evaporation and improve final strength. For homeowners concerned about floor appearance, additional concrete slabs can be poured to create a uniform surface, though this adds cost and extends the project timeline.
System Testing and Performance Verification
Before considering the job complete, thorough testing confirms every component functions correctly. Technicians pour water into the system at multiple points along the perimeter to verify flow toward the sump basin. They observe the pump cycling on and off at proper water levels and confirm the discharge line carries water away from your foundation.
Testing also reveals any low spots where water might pool rather than drain. These areas get addressed immediately by adjusting stone levels or pipe positioning. A properly installed system should remove test water within minutes, leaving no standing water in the trench or basin. This verification step prevents callbacks and ensures you get the protection you paid for.
Common Installation Challenges and Professional Solutions
Unexpected obstacles appear in roughly 30 percent of basement drainage projects. Underground oil tanks, abandoned plumbing, electrical conduits, and structural supports sometimes require routing the drain around or under these features. Experienced installers adapt the drainage path while maintaining proper slope and coverage.
High water tables present another challenge, especially in areas near rivers or wetlands. If the trench fills with water during excavation, pumps remove it temporarily while installation proceeds. The permanent system then handles this ongoing pressure once operational. Clay soil requires extra attention because it holds water and can create pressure against filter fabric. Strategic stone placement and proper fabric selection address these soil conditions.
Protecting Your Investment for Decades of Dry Basements
A correctly installed interior drainage system provides reliable protection for 50 years or more with minimal maintenance. Annual sump pump testing, periodic basin cleaning, and monitoring for floor cracks near the restoration area keep the system performing at peak efficiency. Most problems arise from pump failure rather than drainage system issues, making battery backup sump pumps a wise addition for homes in areas prone to power outages.
The installation process, while disruptive for a few days, creates permanent value that protects your home’s structural integrity and indoor air quality. Water damage repairs, mold remediation, and replacement of damaged belongings cost far more than proactive drainage system installation. For families throughout New Hampshire dealing with recurring moisture problems, this investment delivers peace of mind and measurable protection.
Understanding each phase of the installation helps you evaluate contractors and recognize quality work. The difference between a system that performs for decades and one that fails within years often comes down to details like proper stone selection, adequate slope, and thorough testing. NH Dry Basement LLC brings family-owned attention to these critical details on every project, from initial assessment through final testing. If your basement shows signs of moisture intrusion or you want to prevent future water problems, reach out at +16032359598 to schedule a free evaluation and discuss how an interior perimeter drain can protect your home.